How to Line Up Two-Step Stamping Images Every Time | Begonia Belle Tutorial
Today’s share is a fun one: projects featuring the Begonia Belle stamp set! This one is a Product of the Month, meaning you can get it for a special price with qualifying order. If you love beautifully detailed, realistic image, this one’s for you.
It’s gorgeous in any color with just two impressions!
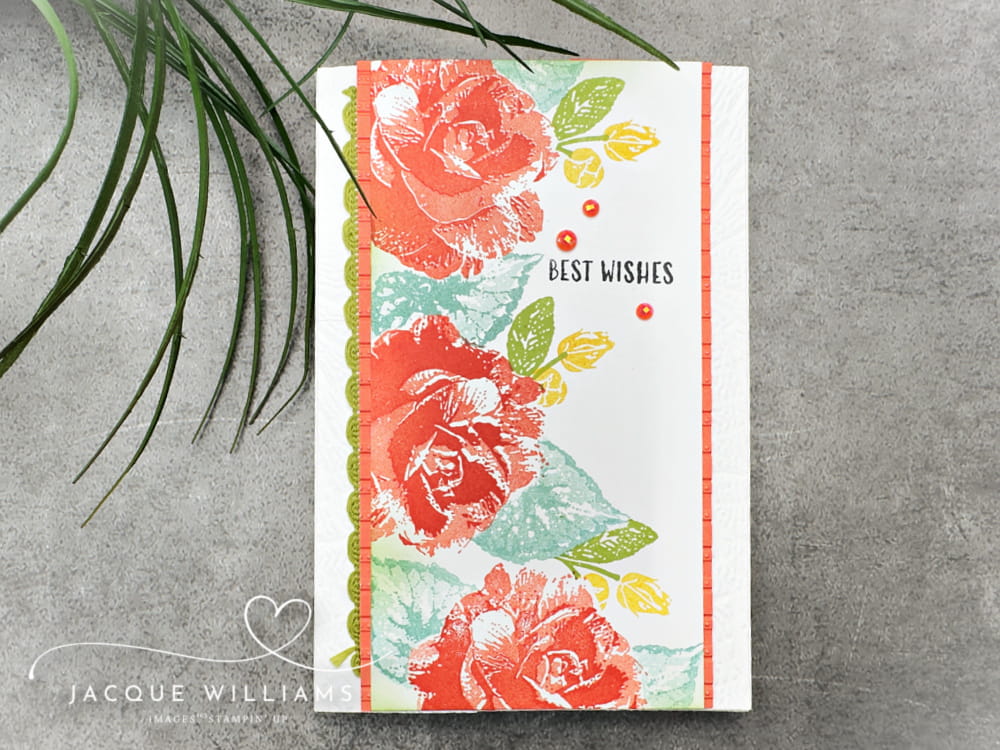
The begonia flower is two stamps, one stamped on top of the other. Here are a few tips:
- Stamp the darker image first, which is typically the detailed image. This is much easier to see through the block than the lighter image.
- Orient the stamps themselves according to the pictures on the packaging. You can do this each time, of even just mark the back of the stamps to show which direction they go to perfectly line up with each other. (See the video below for a quick demonstration).
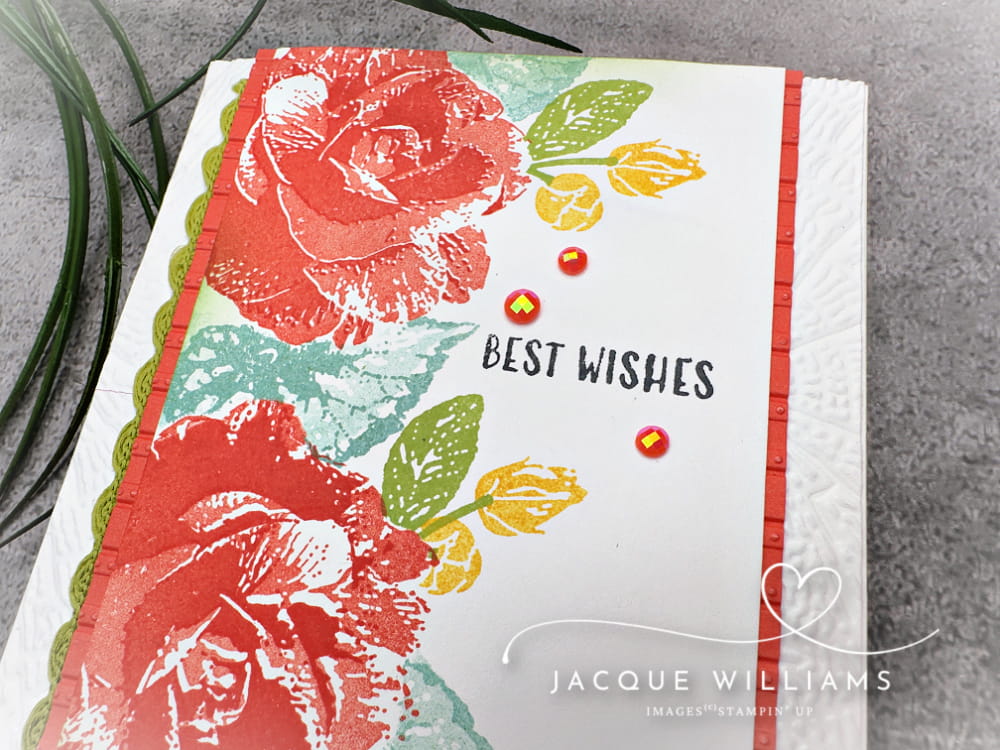
For this sample, I used Calypso Coral for the begonias, Lost Lagoon and Old Olive for the leaves, and Daffodil Delight for the small buds. This project came together quickly and easily.
The beautiful detail in the stamps lend themselves to just stamp, ink, and paper projects.
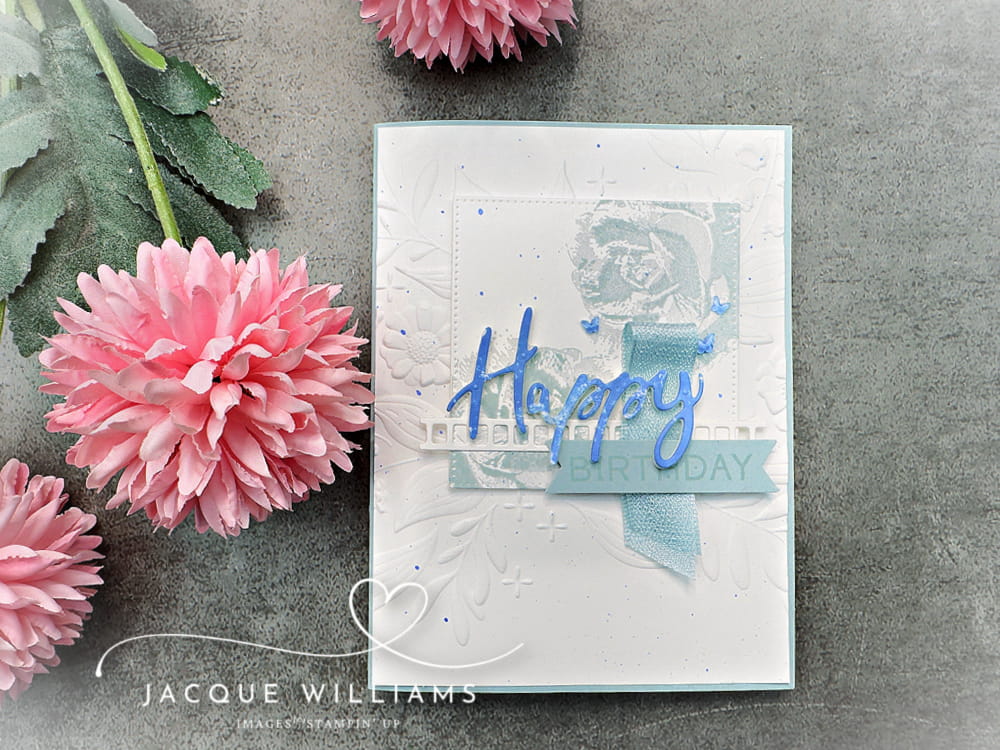
This project is my favorite of my samples, and was inspired by a project made by Holly’s Hobbies (she used different colors, dies, and images).
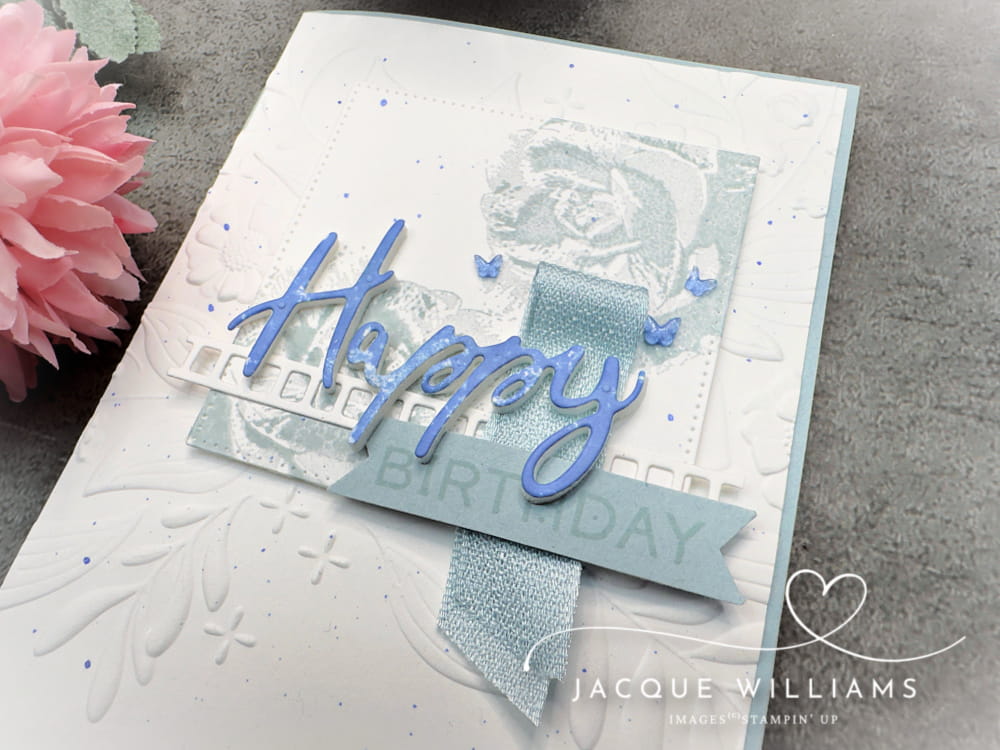
Possibly my favorite thing about this card is how I made the “printed paper” for the Happy. See the video below for a quick demonstration.
Word stamps and dies are from the Words and Wishes bundle.
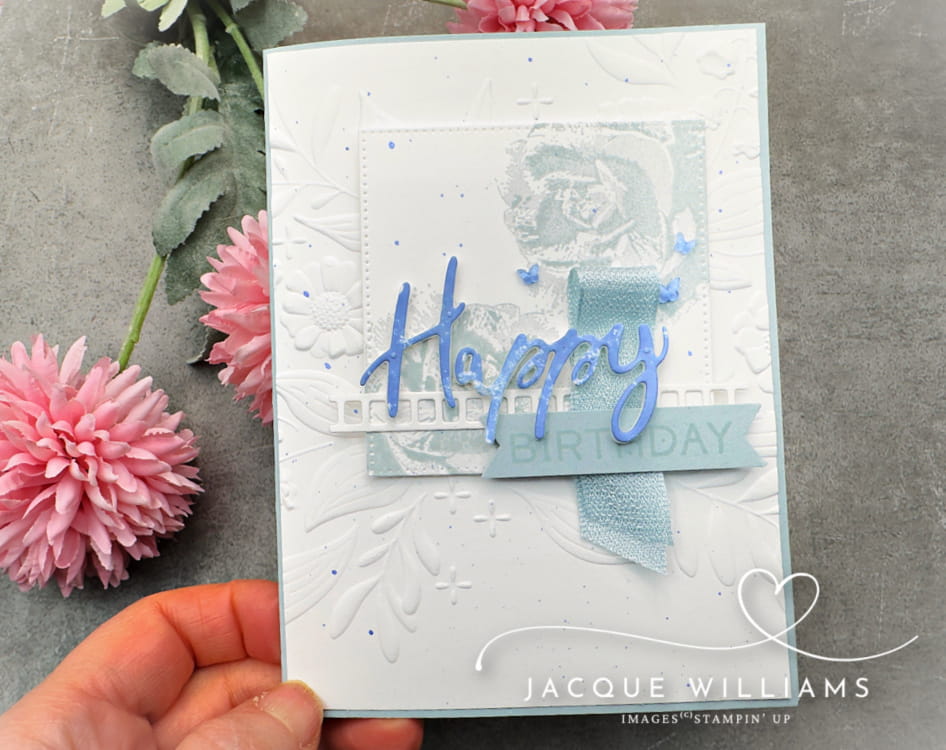
I love the begonia stamped in Cloud Cover – it’s such a nice gray-blue. And the Hydrangea Hue butterflies add just the right touch of color.
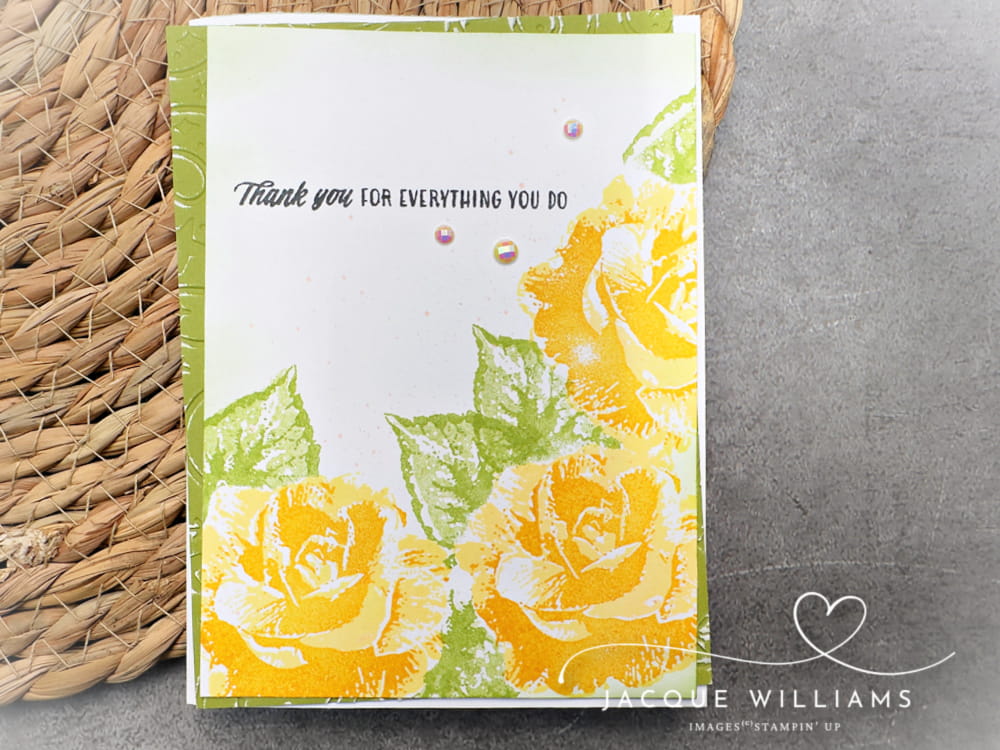
I made another sample with stamps, inks, and paper, but this time using Daffodil Delight, Lemon Lolly, and Old Olive. I love how cheerful this one is.
I will post a reel for this project, and do a separate post later this week, but am including it here for completeness.
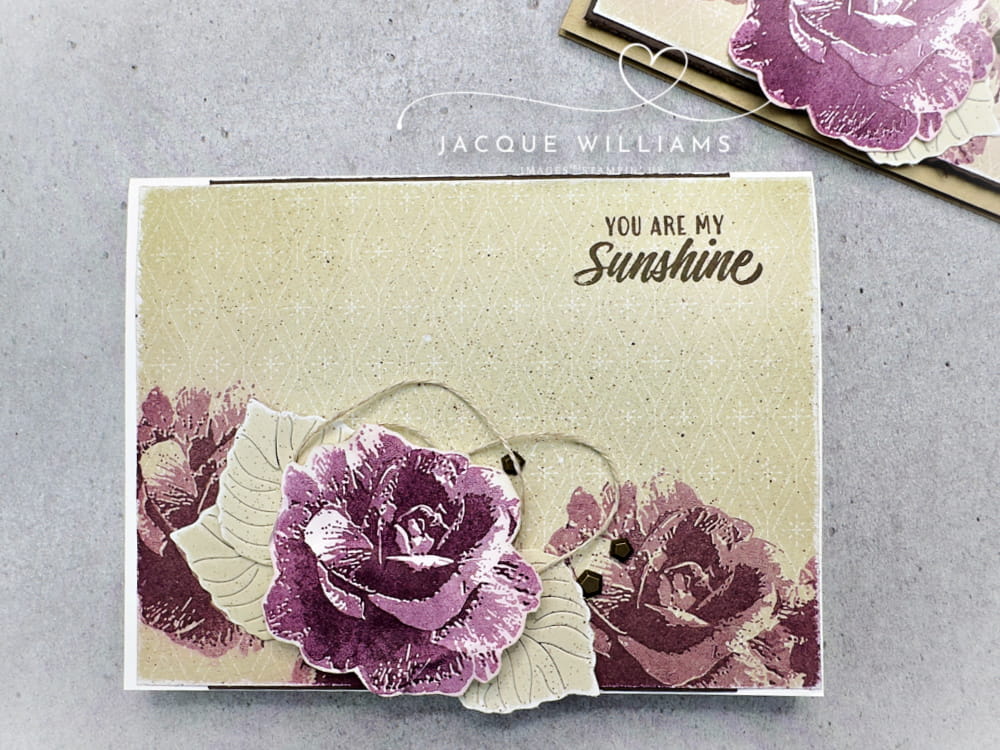
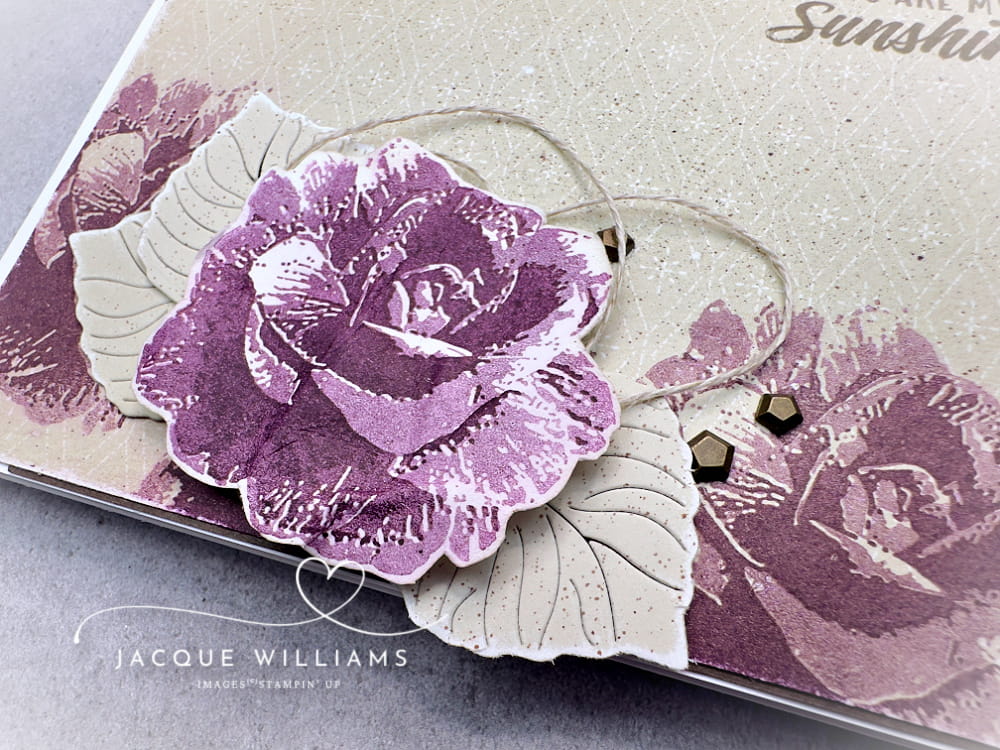
The set also works well for more vintage effects. For this card, I stamped the begonia with Blackberry Bliss on the Valley in Bloom papers (Basic Beige), which gives a very nice effect. It’s a great way to jazz up some of the more plain papers, too.
I also stamped and cut out one of the begonias and used the Detailed Flora dies for Basic Beige leaves.
Please also enjoy this YouTube video showcasing the Cloud Cover project and some alignment tips, and
Subscribe to my YouTube Channel for weekly tips and project ideas!
Stuck on what to make? Design Spark is your go-to digital sketchbook with 30 card sketches (with measurements!) —each in three variations—for 120 total designs to spark your creativity. Whether you love clean and simple or layered and detailed, you’ll find inspiration on every page.
Happy crafting! ~Jacque