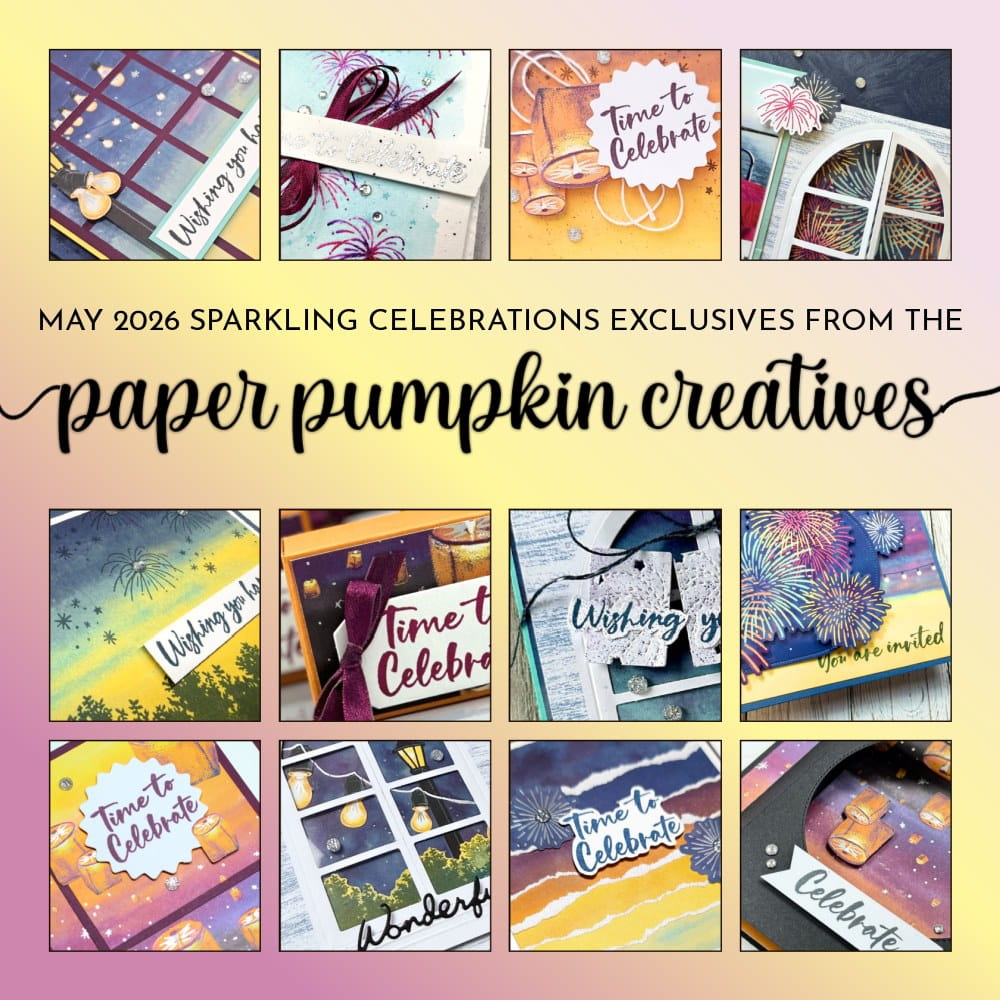
Alternative Ideas for the Sparkling Celebrations Paper Pumpkin Kit
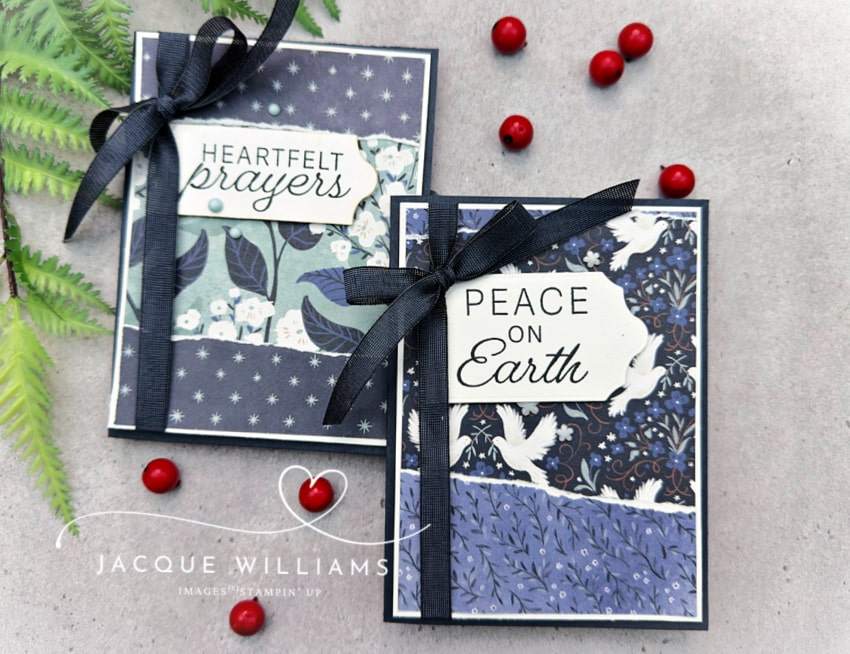
Oh, I had so much FUN creating some alternative designs with the Sparkling Celebrations May 2026 Paper Pumpkin kit! This was one that I wasn’t entirely sure I’d like, but once I got stuck in, the ideas kept coming. I suggest you make the three prescribed projects that come with the kit, and then use the other 2/3 of the kit to try some new ideas.
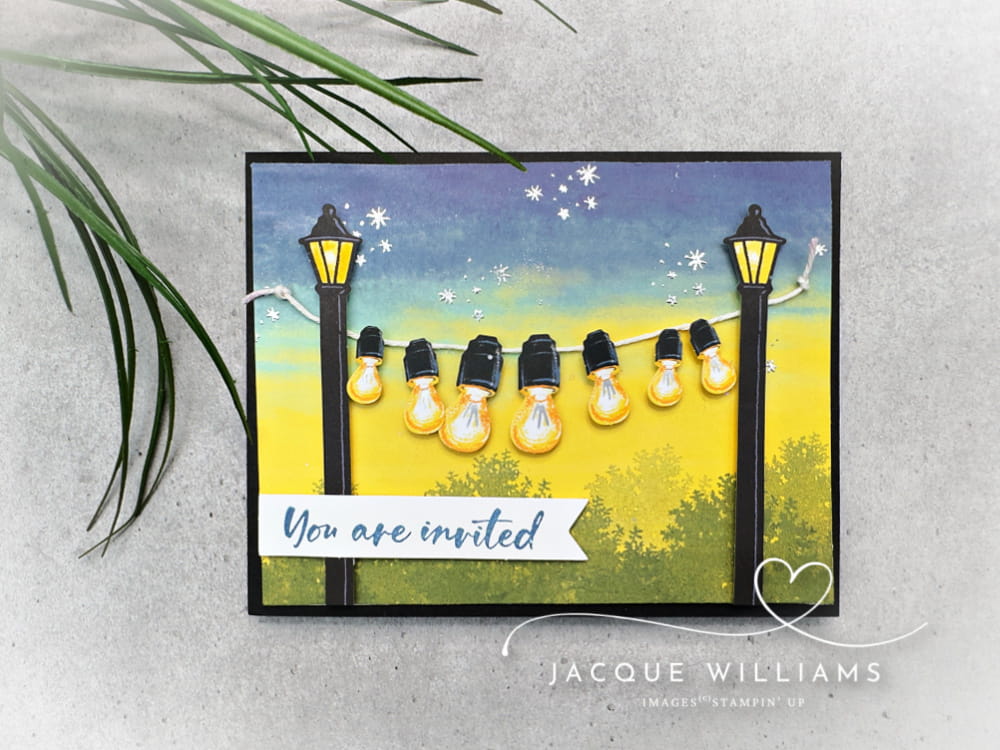
The very first project I made was this party light one. The front of the card is actually one side of an envelope from the Sparkling Celebrations kit.
I stamped the shrubbery from the stamp set included in the box. I stamped this in Misty Moonlight, but because it’s on yellow paper, it looks quite green. I loved that little effect.
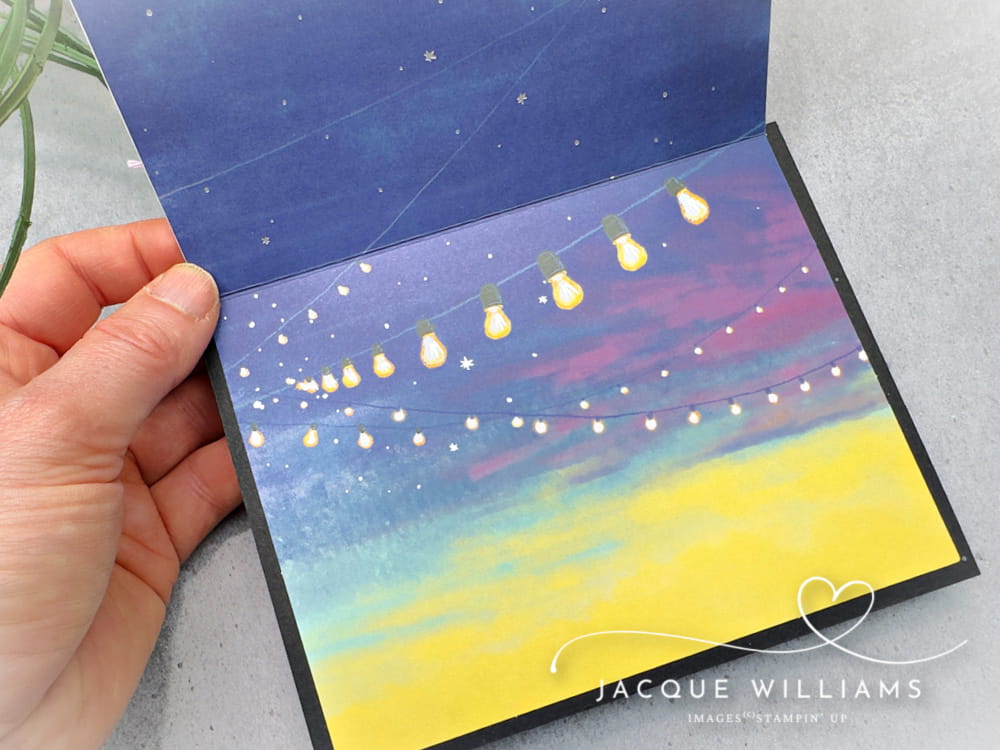
Then, surprise! For the inside of the card, I actually turned one of the cards inside out. The print here is light enough that I feel one could still write on it with a black pen, and it would work just fine.
I backed it all with a Basic Black mat to give the card base a little more strength.
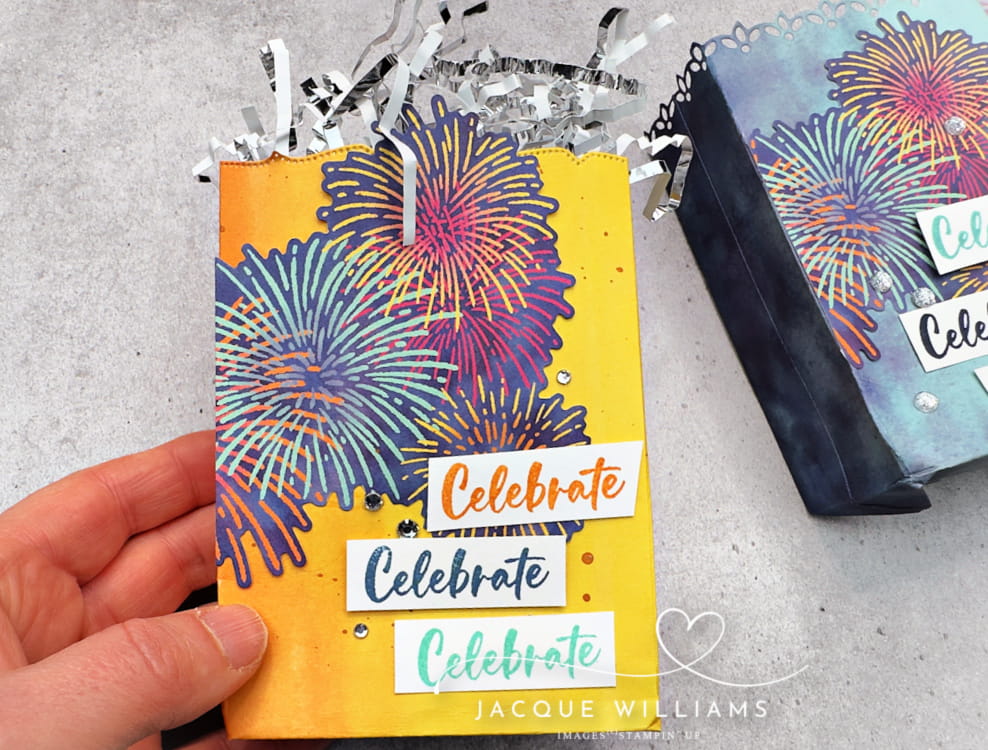
Next, I made these cute little gift bags from the envelopes and the included die cuts. The word is also from the included stamp set.
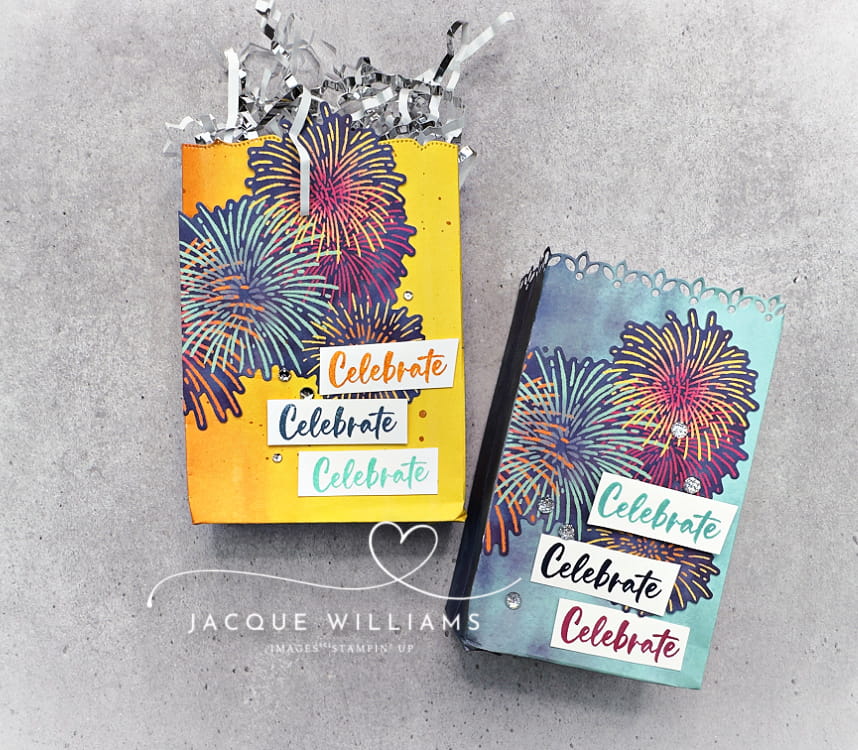
To see a demonstration of how this bag goes together, I’ve made a short video, which is at the end of this blog post. ⇣
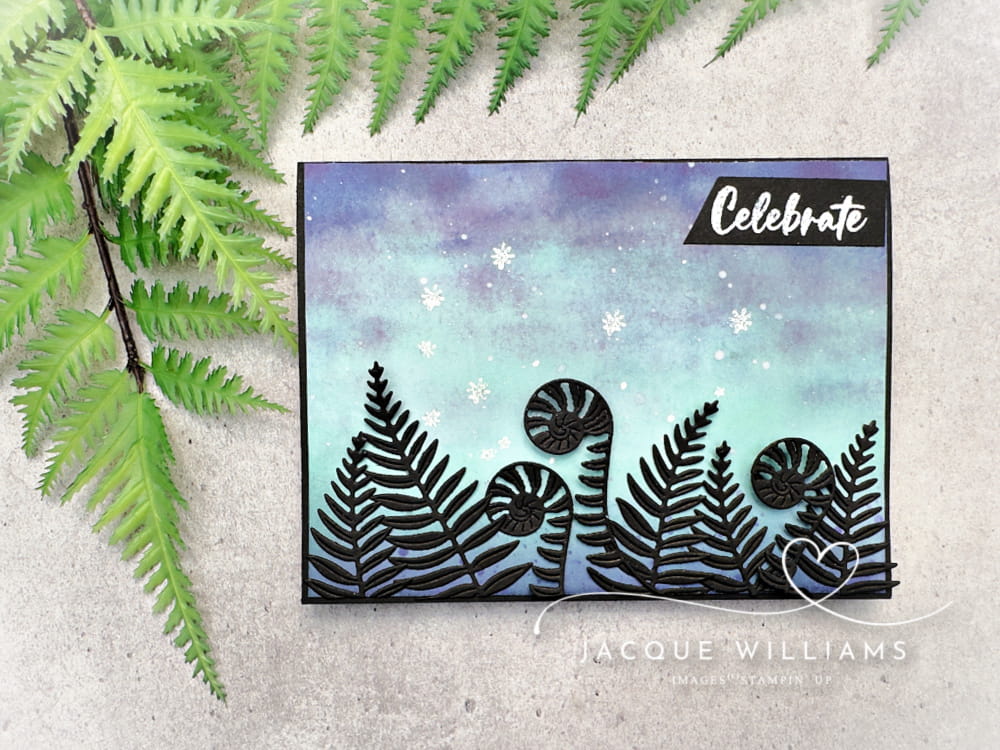
Possibly my favorite project of the bunch, I made a Matariki inspired project with the included star stamp and the Fern & Flora dies. The background is again from one of the envelopes.
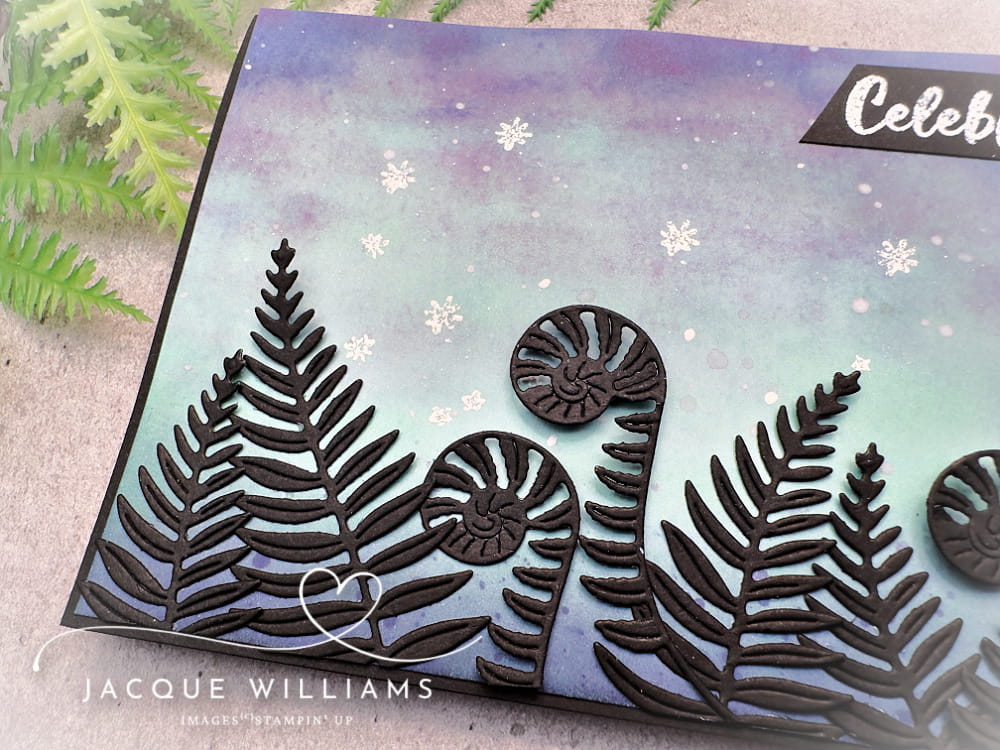
I took the time to try and re-create the Matariki constellation, but, of course, you could also place them more randomly, too.
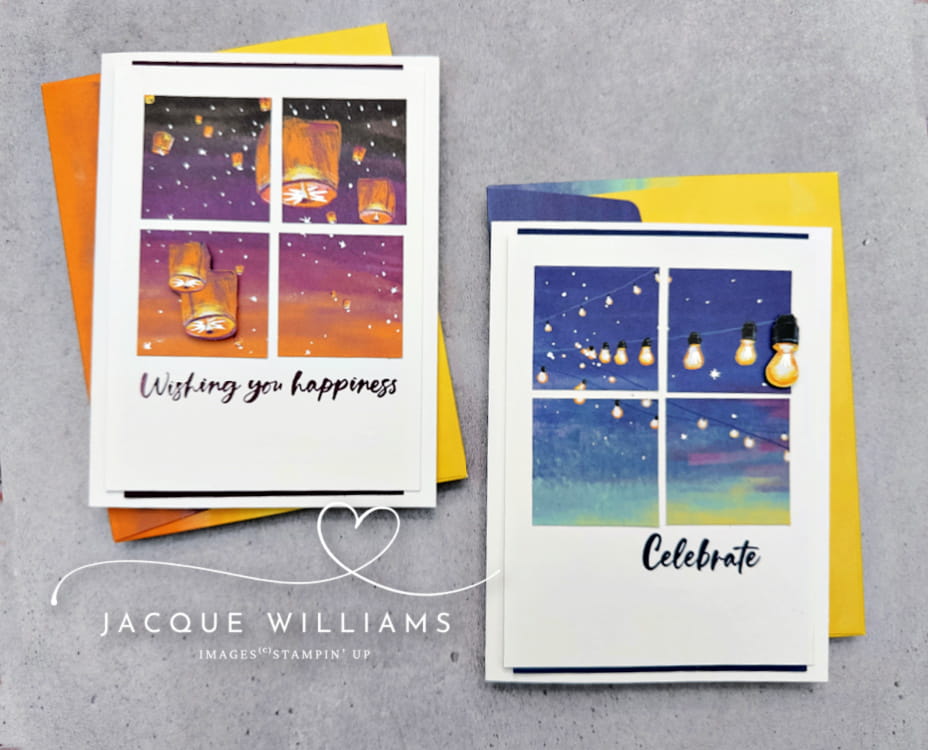
For this quick project, I simply cut apart the card front and pieced it back together to make a faux window effect. I will be sharing a reel for this one in a few days, so I’ll post more pictures and details then.
However, I realize a lot of people would say, “but what about the rest of the card base? Isn’t that wasteful?” This is what I did with them:
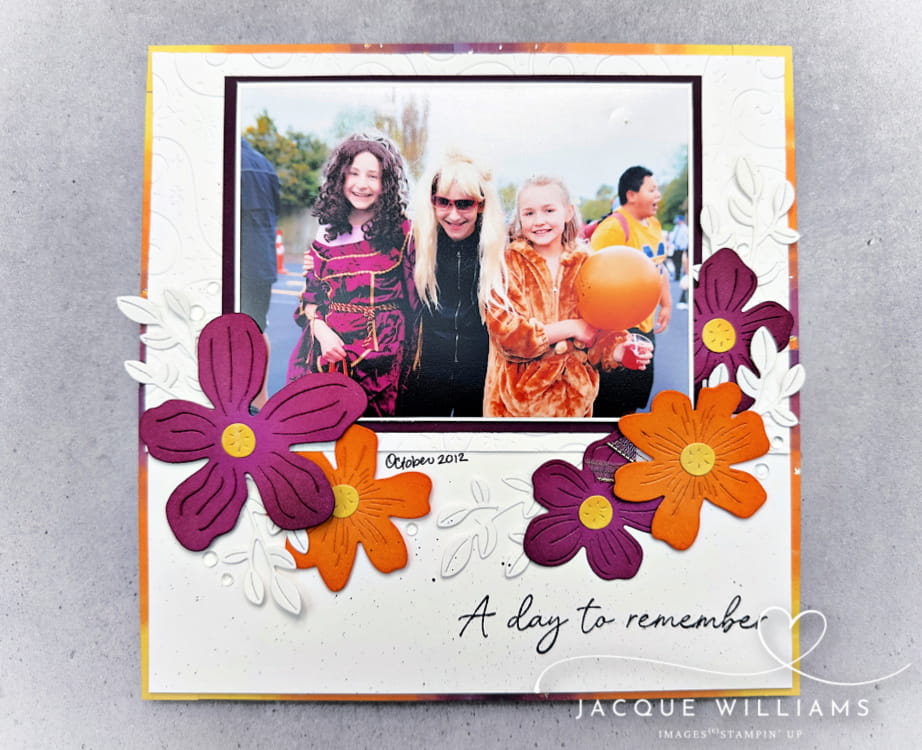
I cut that leftover card base into strips, and then pieced it together to create the border / base layer for this scrapbooking layout. You could do the same idea for a card, too.
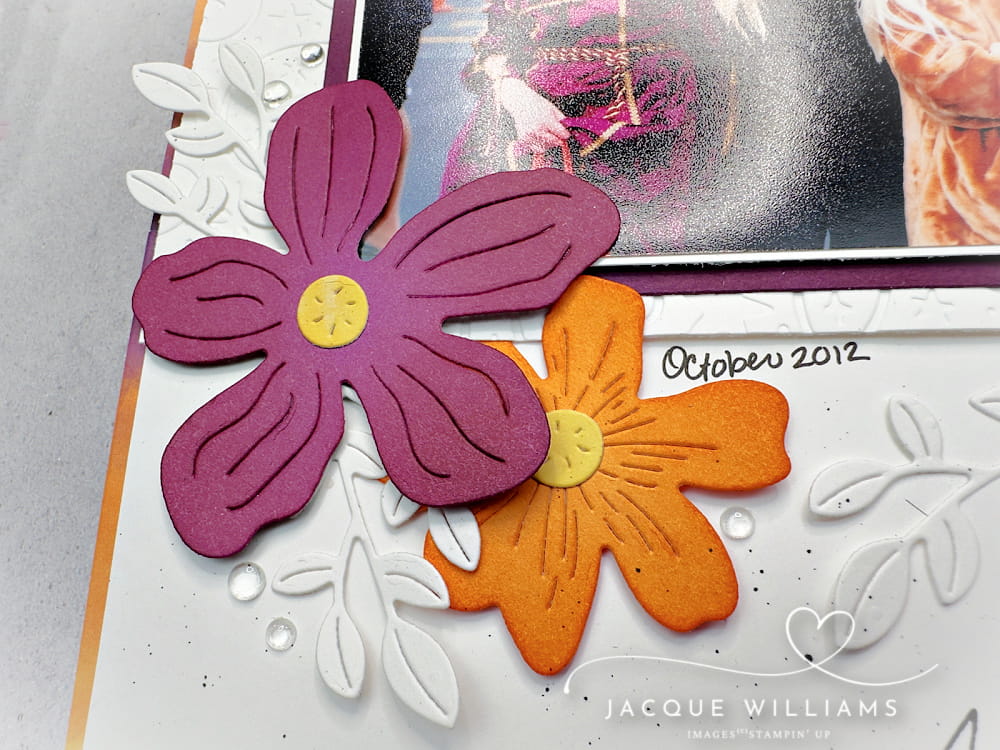
I then used the Boutique Blossom die set to to make some flowers to match both the border and the photo. I added a few of the Dewdrop Embellishments to add a little something, while still keeping this fairly simple.
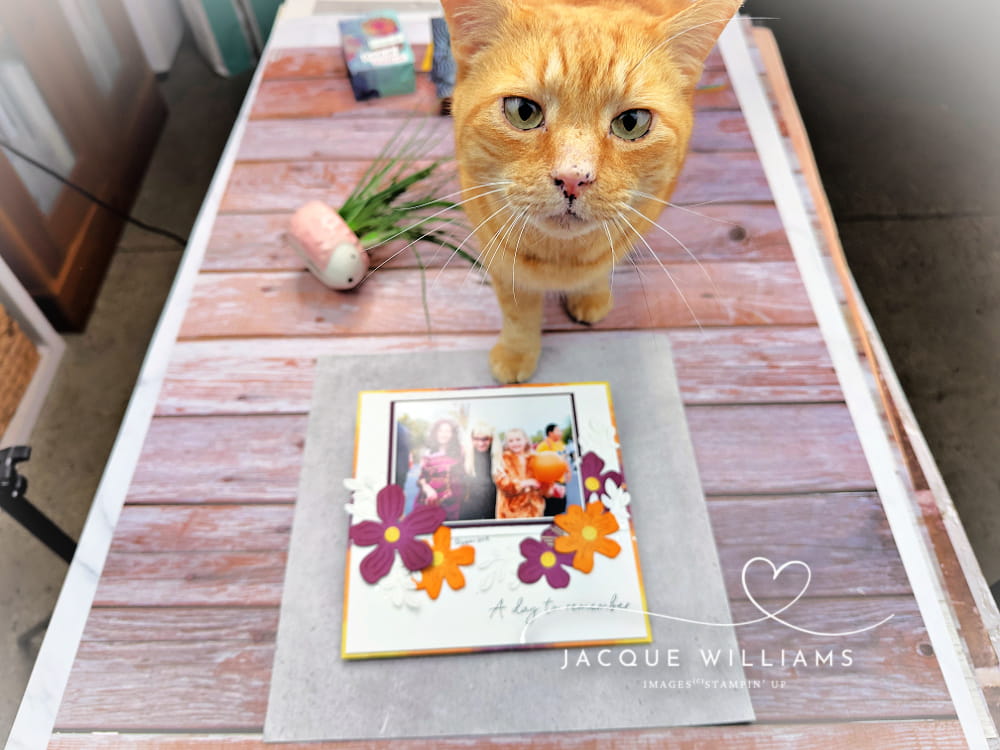
And just for fun, here’s my boy coming to see what I was doing:
Two more things:
First, if you’d like even more ideas for your Sparkling Celebrations kit (different to the ones pictured above), including measurements in inches and written instructions, the Paper Pumpkin Creatives design team has a 14 project PDF just for you!
Just $15 USD, and ready for immediate download. Lots of creative ideas for use with the Sparkling Celebrations kit and/or adapting to other kits!
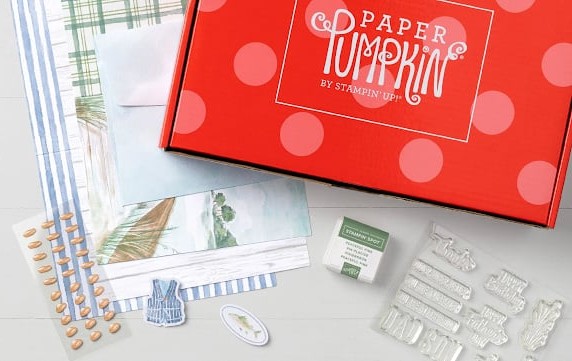
Second, you can join in the Paper Pumpkin fun by subscribing to receive your fun, red box every month! When you subscribe with me, you’ll receive the accompanying PDF for that month as a FREE bonus (along with other surprises along the way)!
Please also enjoy this edited YouTube video to see some of these projects in actions, and
Subscribe to my YouTube Channel for weekly tips and project ideas!
Imagine opening a surprise box of crafting goodies every month!
Your Paper Pumpkin kit arrives right to your door, and as a special bonus, you’ll also receive exclusive alternative project tutorials so you can create even more with your kit. Every month is a new surprise and a fresh dose of creativity. Find out more here.