How To: The Baby Wipe Technique! Sweet Strawberry Patch Card
I had so much fun sharing this card at my recent Sweet Strawberry Class! I love projects that look so great, have a fun technique, but aren’t too difficult to complete.
This card reminds me of my childhood. We had a huge (or so it seemed) strawberry patch, and I recall the little white flowers and the thick leaves during early spring:
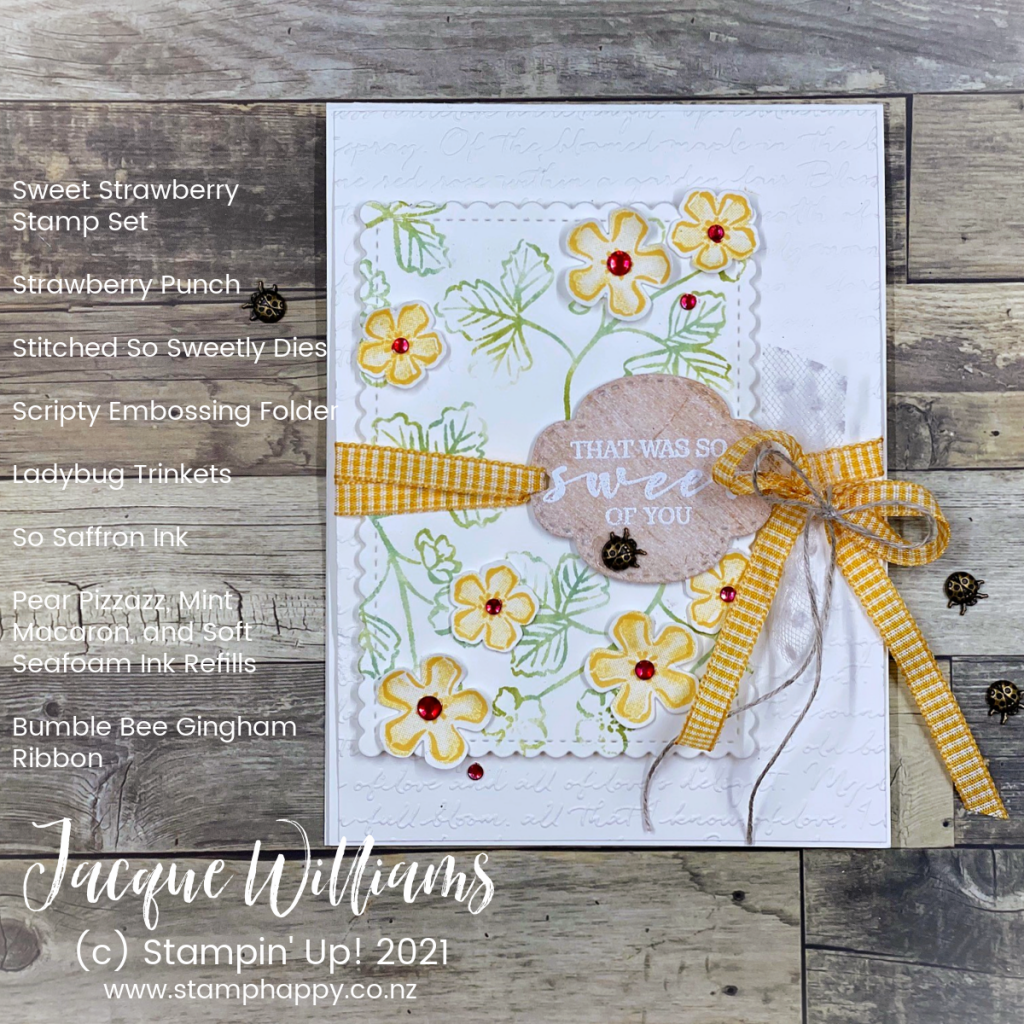
The images and coordinating punch are all included in the Sweet Strawberry bundle.
I’ve also added in those cute, cute ladybug trinkets . . . I think those will be on a lot of projects in the near future! It’s does make me laugh at myself, though, that all other beetles are scary, but somehow these ones are adorable . . .

What is the Baby Wipe Stamping Technique:
- Fold a baby wipe into fourths
You will want to have something underneath, like a plate
- Add drops of Stampin’ Up! Classic Ink Refills onto the baby wipe.
Use at least two colors. Experiment! The ink must be water-based.
- Use the inked baby wipe like an ink pad.
Ink up your stamp from the baby wipe and stamp. You may wish to wash the stamp in between impressions.
- Re-Ink the baby wipe when necessary, or repeat the process to start fresh.
Eventually the ink will either run out or the colors will blend into a new, homogenous color.
-
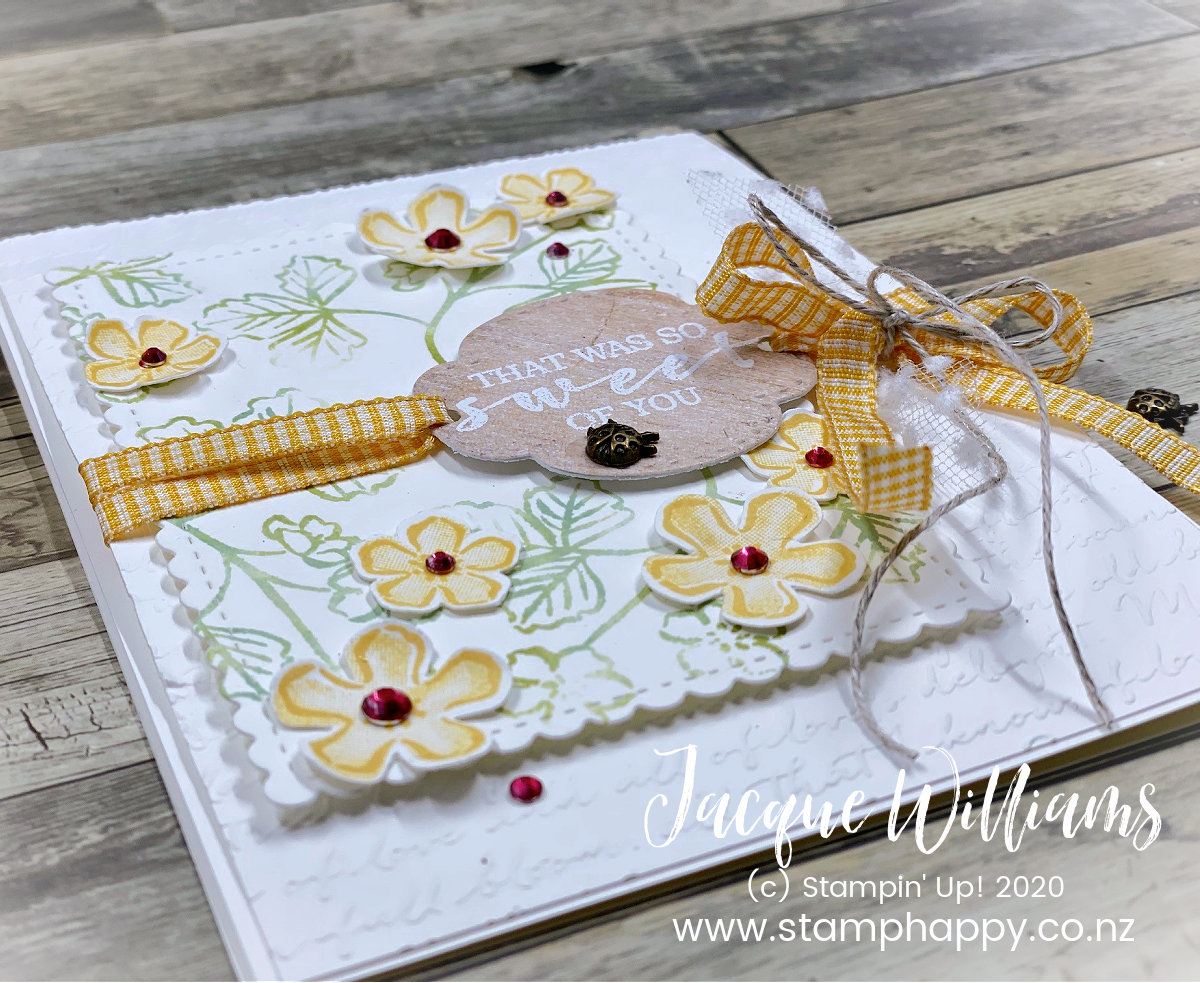
The Baby Wipe Technique is a great way to get either a unique color or to get a multi-colored impression with your stamps. It’s also a way to use your ink refills if you don’t have the actual ink pad.

Click here for a complete supply list for this project. You can remove anything you don’t need from the list.
Instructions for today’s project and this pop up card are included in my Sweet Strawberry Tutorial. Step-by-step with cutting measurements so you can just get to the fun part!

Thanks again for stopping by my stamping studio today! I appreciate you! ~ Jacque Williams



This card is WONDERFUL!
Thank you so much! 🙂