Hooray for Birthdays Paper Pumpkin Kit Project Ideas You’ll Love!
For today’s post, I want to share with you the great fun I’ve had with the Hooray for Birthdays Paper Pumpkin kit. If you don’t have that kit, you can always subscribe and purchase the refill, or you can simply substitute other elements to recreate the designs. I hope you enjoy!
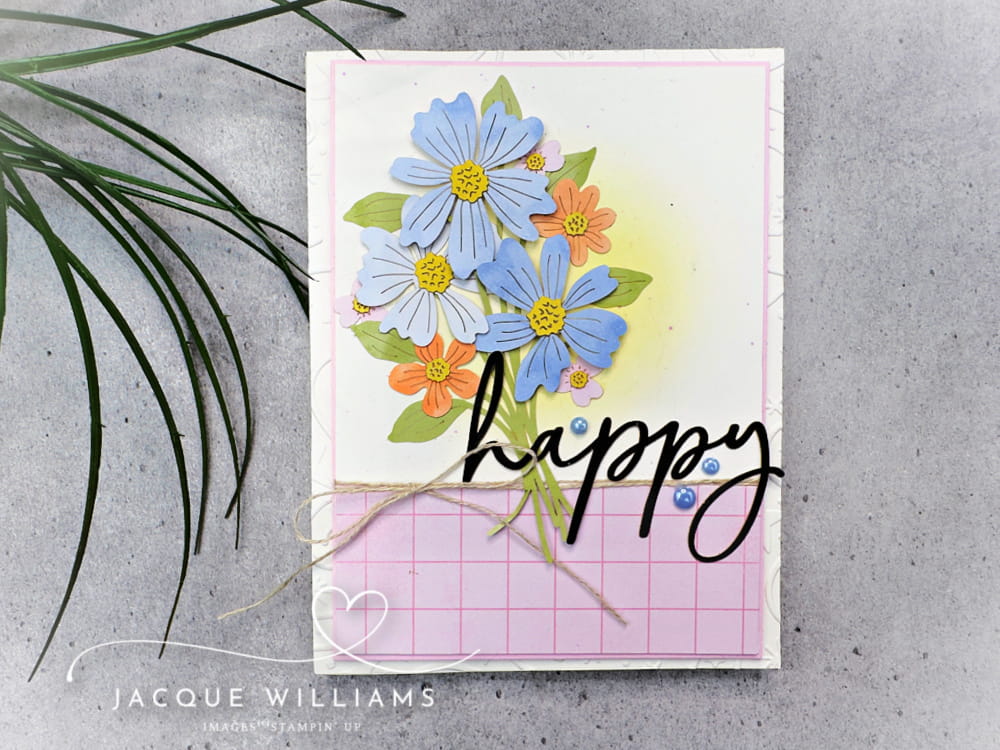
The first project I made was this simple design with the included bouquet die cuts and the pre-cut sentiment. I used a strip of one of the card bases for the accent piece.
It was really quick, and came out very well.
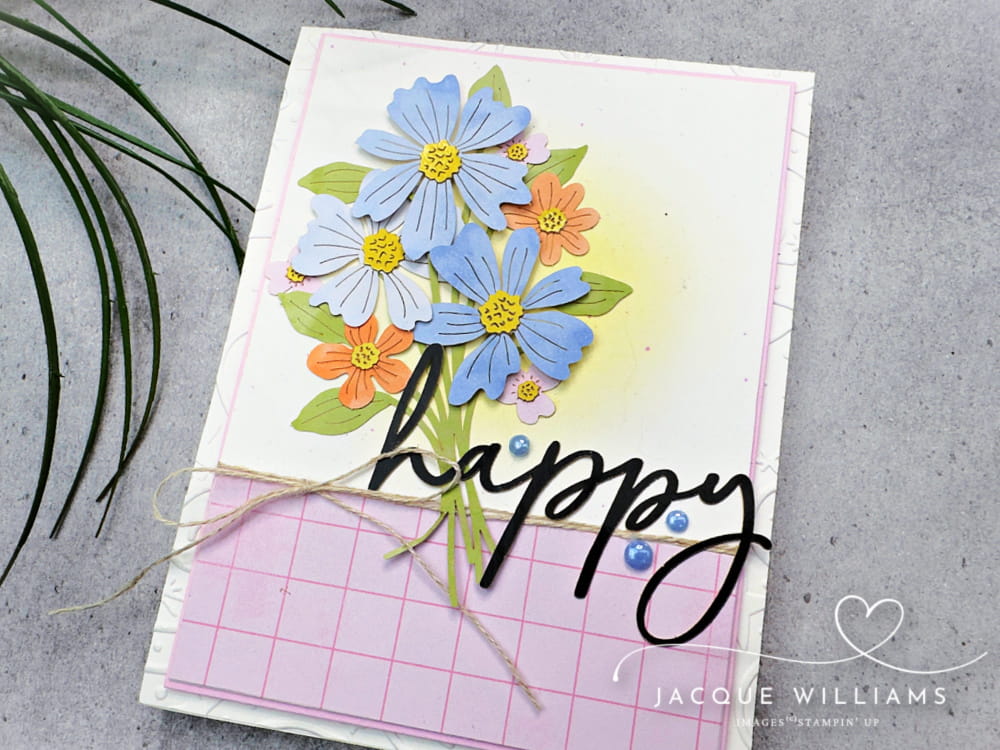
The detail of the die cuts is impressive; they did a great job with these.
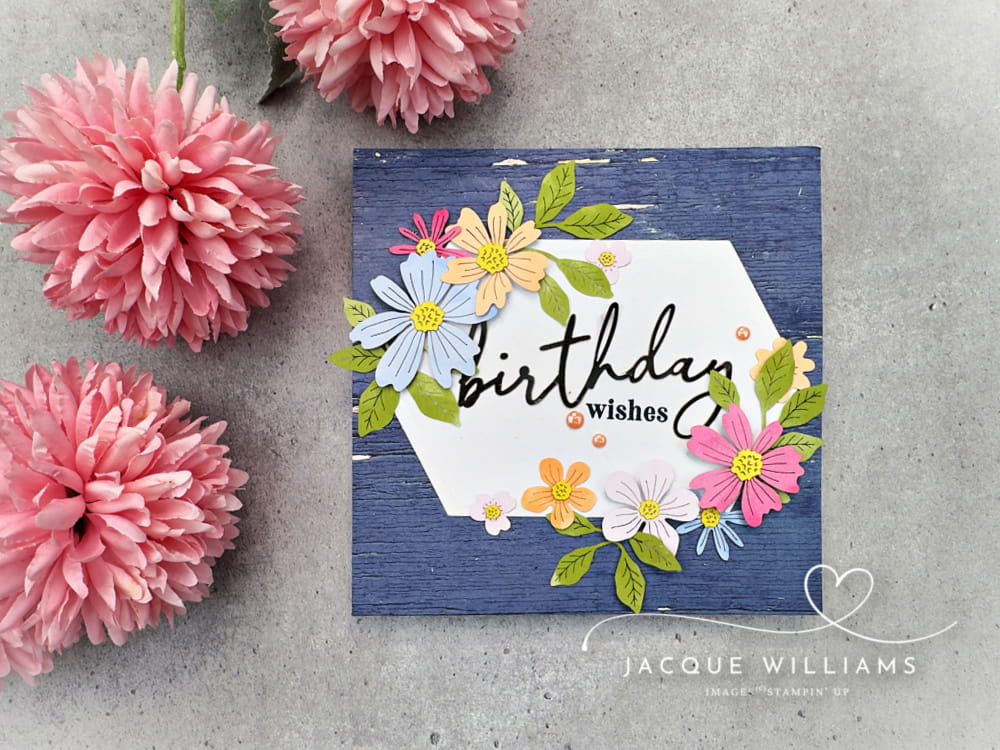
For this sample, I wanted to make a very quick card with more of a wreath or a framed feel. The Hooray for Birthdays Paper Pumpkin kit comes with three each of three different shapes of large labels. You can’t really see it in the photo, but they have a shiny embossed edge, too.
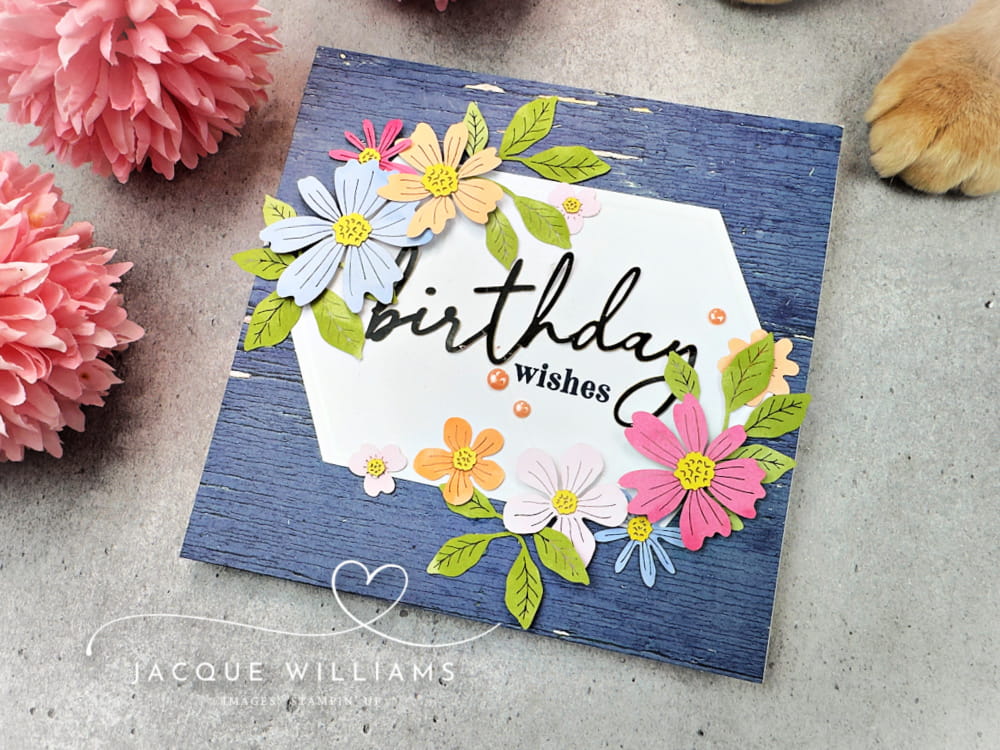
I covered the card front with the Countryside Woods Paper (still love this paper), placed the frame, and then simply arranged the flowers and leaves in the two corners. One could put flowers all around, but I liked to show the shape of the label.
And Lucky boy just loves to be involved in what I’m doing.
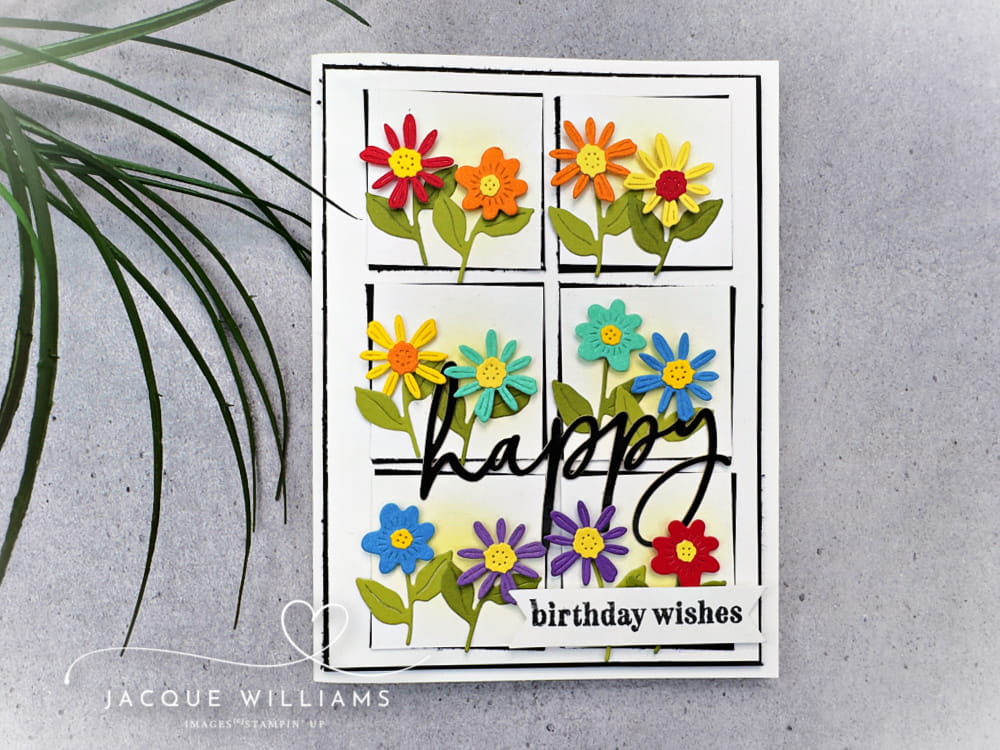
For this sample, I actually used the Detailed Flora dies, the coordinating (optional) die set that goes with the Hooray for Birthdays kit. It’s not necessary to complete the projects, but it does give some more options and stretches your flowers that bit further, too.
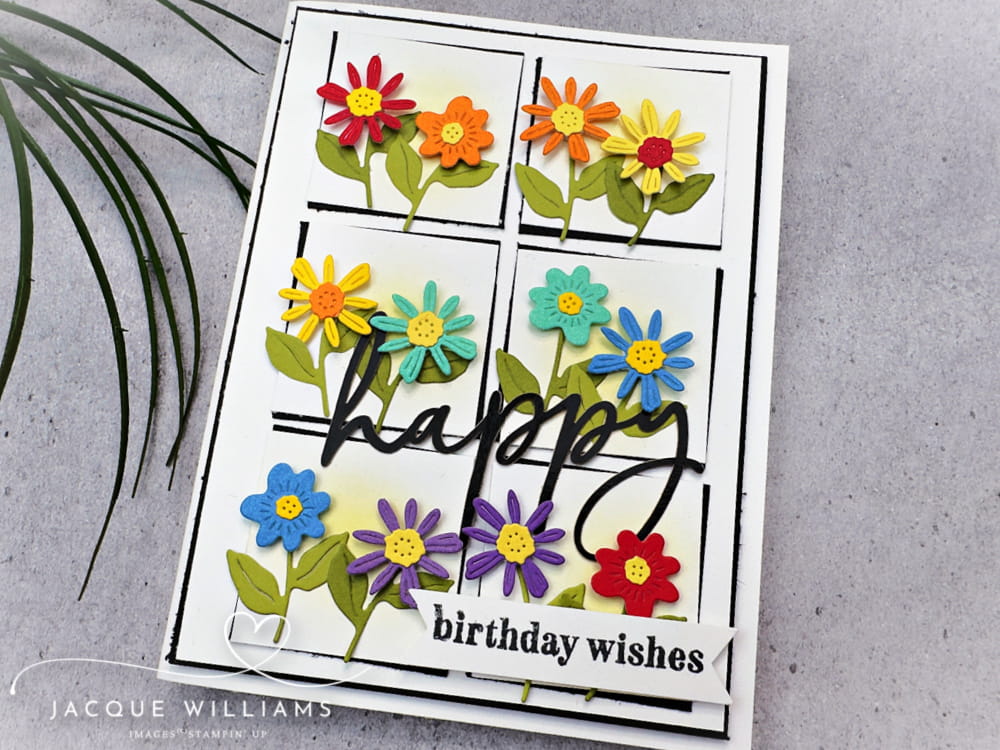
I wanted to go a totally different color way to show some versatility, so went with brights. I actually love how this turned out! The words are both from the Hooray for Birthdays Paper Pumpkin stamp set (included in the kit).
The inspiration for this card is from my Design Spark Sketchbook.
You can watch the replay of this project here.
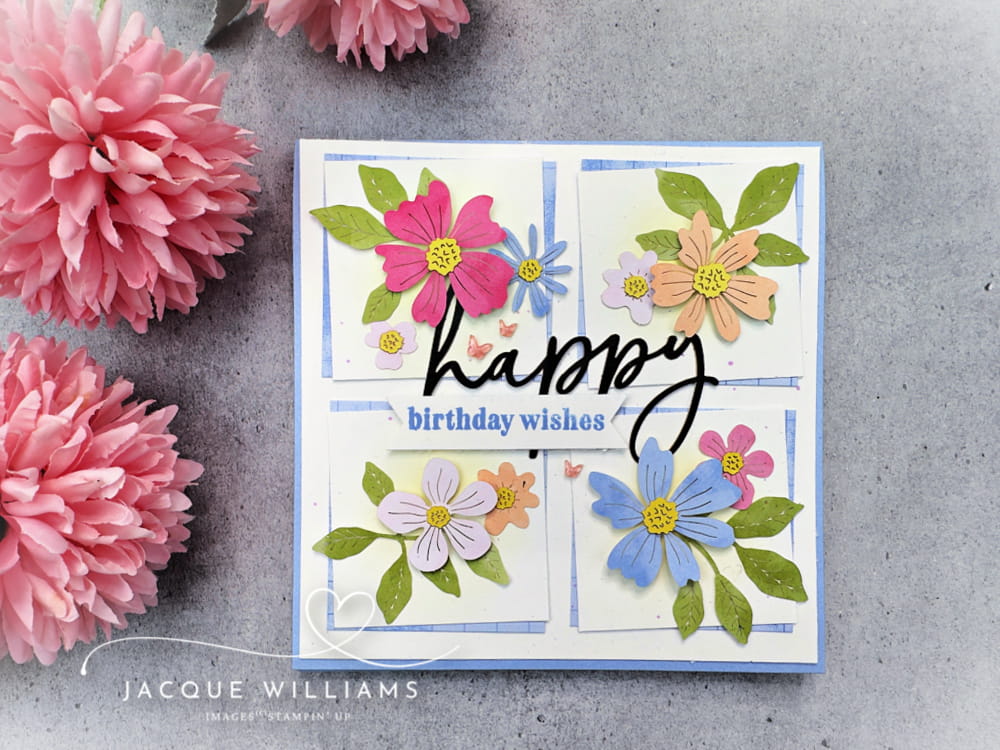
I used an included variation of the sketch from the Design Spark Sketchbook, and made this sample with the kit contents. Who wouldn’t love a card covered in delicate flowers like this?
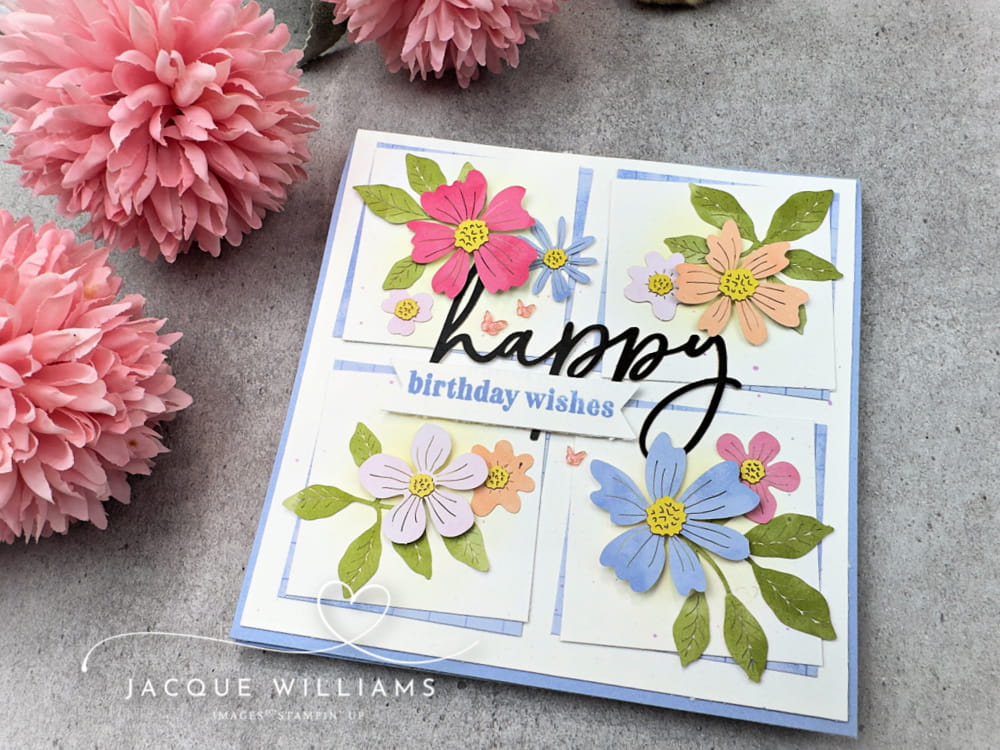
Tip: the flower centers are little stickers. I found it much easier to stick them to the flowers while they were all still intact on the sheet. Before popping any of the die cut flowers out, go ahead and place all the flowers centers on.
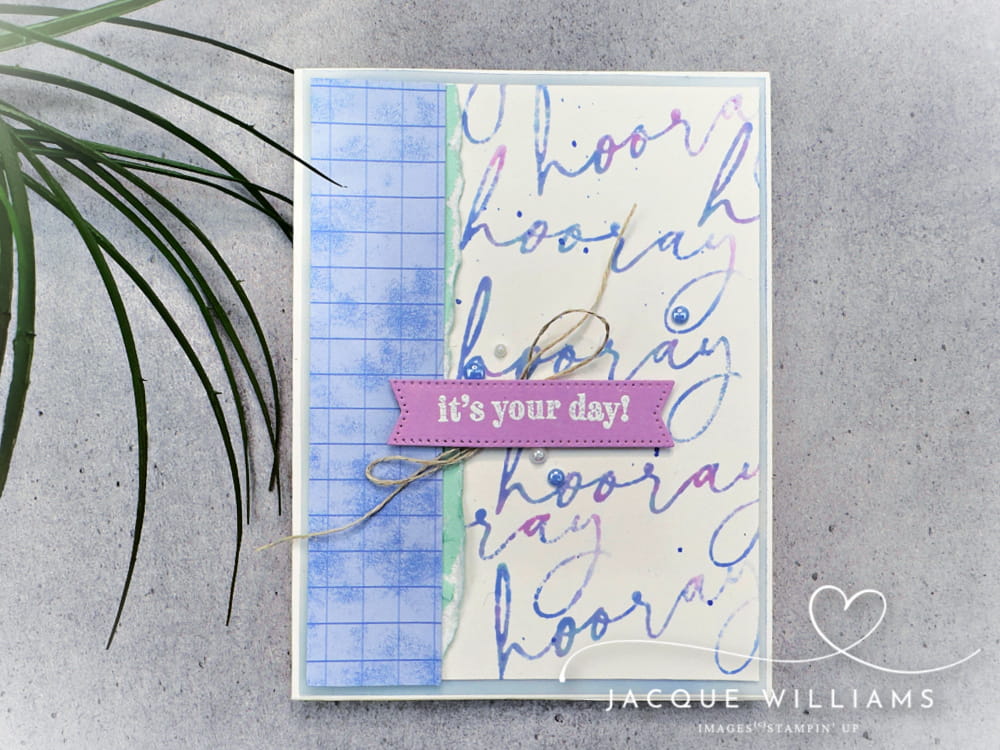
For this sample, I largely just used the stamp set from the Hooray for Birthdays Paper Pumpkin kit. It’s actually quite a useful celebration stamp set. I used the classic baby wipe technique (with a variation) to create the fun background.
And I loved these flowers and color combo so much, I went all out and made a double page scrapbooking layout:
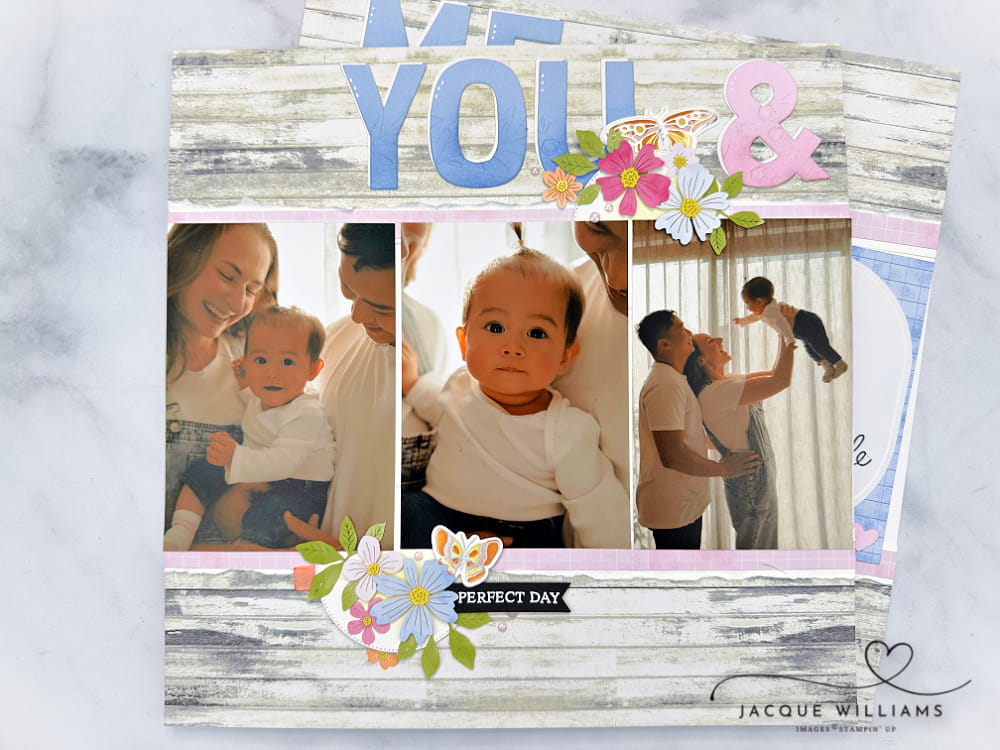
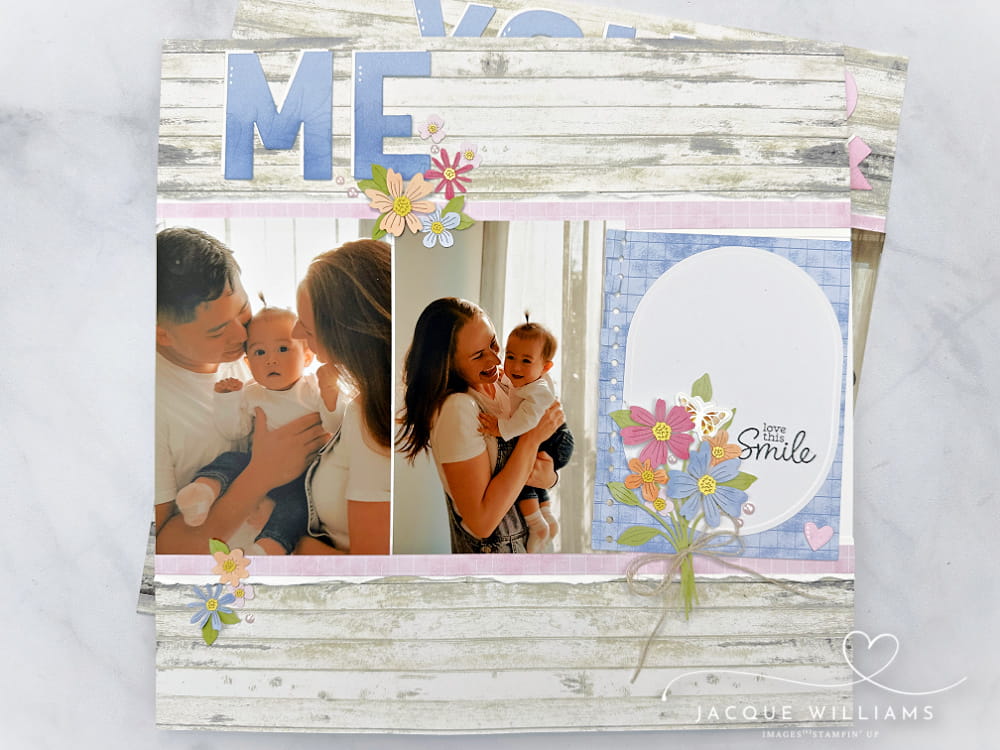
I used the Countryside Woods papers again (they are fantastic against florals), for a neutral, but interesting background. I’ll do a full post on this layout with more photos and explanation.
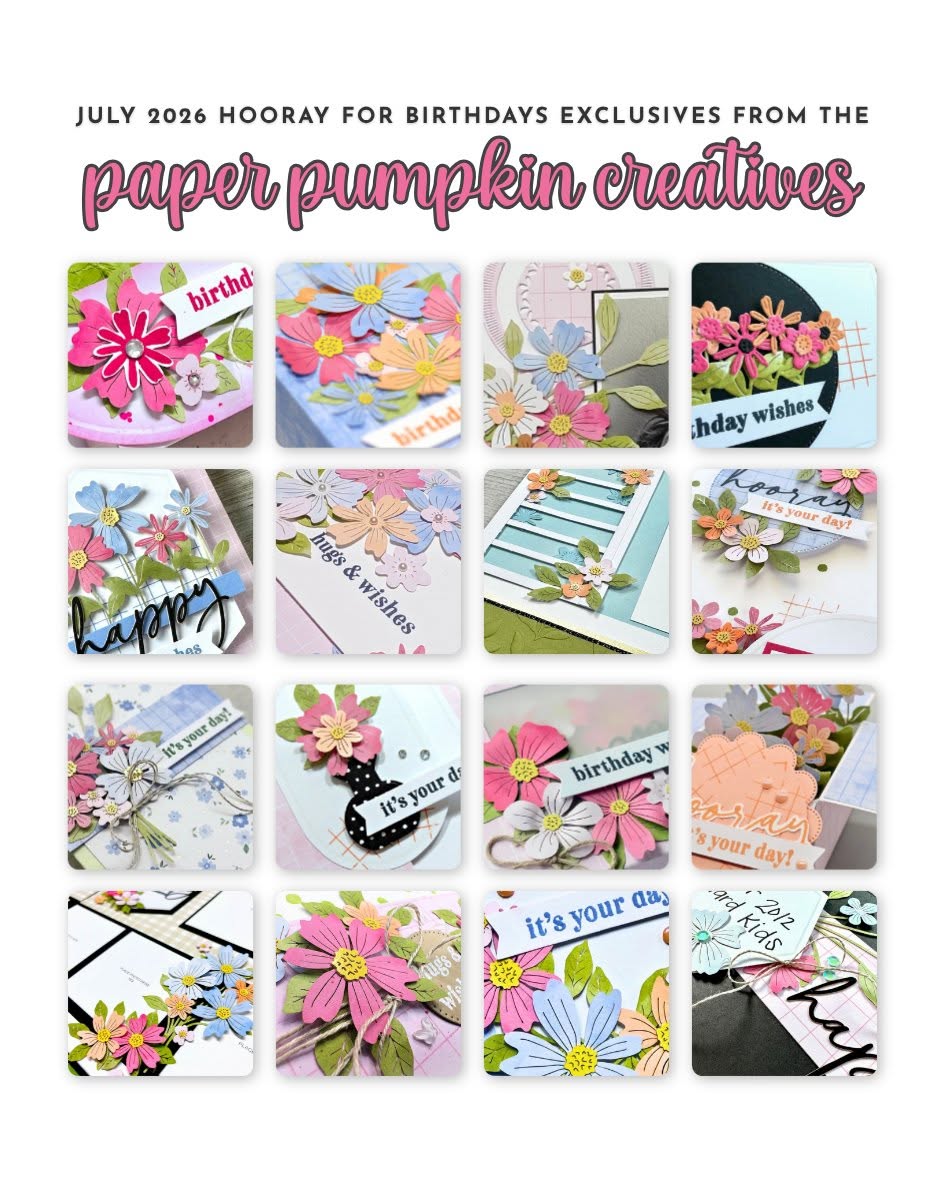
For even more ideas, but this time with measurements and step by step instructions, you’ll love the Paper Pumpkin Creatives Hooray for Birthdays PDF! You’ll get 16 fantastic projects to make the most of your kit and kit refills for just $15 USD!
Download the Hooray for Birthdays Paper Pumpkin Creatives PDF
Subscribe to my YouTube Channel for weekly tips and project ideas!
Imagine opening a surprise box of crafting goodies every month!
Your Paper Pumpkin kit arrives right to your door, and as a special bonus, you’ll also receive exclusive alternative project tutorials so you can create even more with your kit. Every month is a new surprise and a fresh dose of creativity. Find out more here.