Easy Double Vision Papercrafting Technique & Variations
My post today is going to be all about the Double Vision technique – a fun idea that takes very few supplies and adds a fun element to even a simple card design. Anyone can do this! Let’s start with the basics:
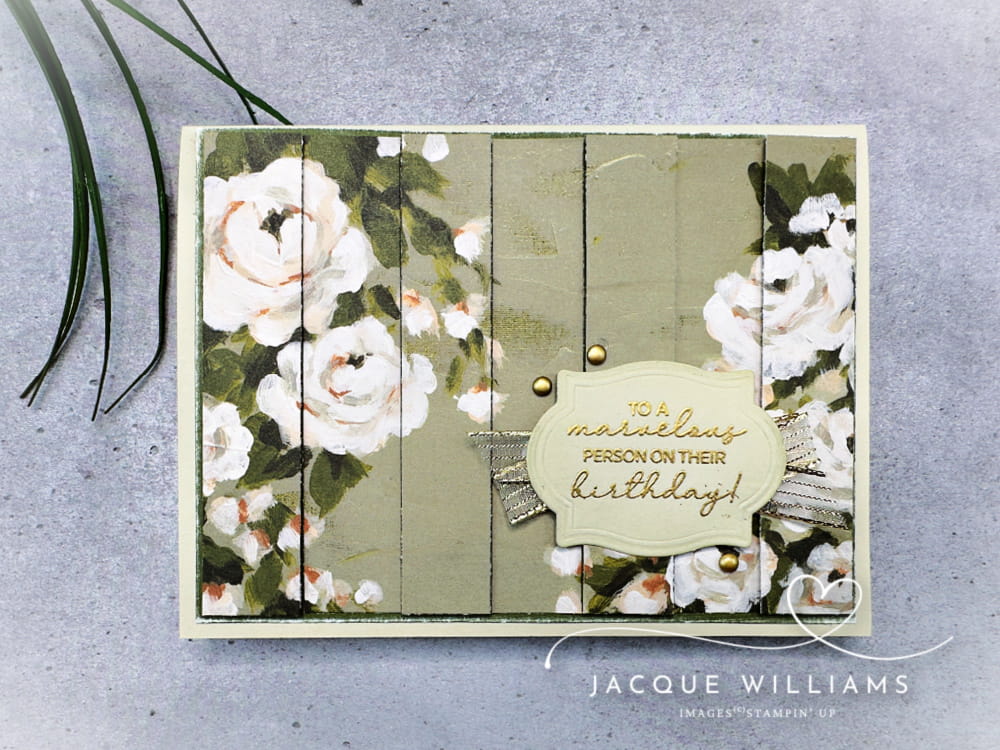
The technique itself is a simple idea: cut the paper or cardstock into strips, then alternate the strips between being adhered down flat or raised up with dimensionals for a nice 3D effect, while still keeping the overall printed pattern intact.
When I’m trying something new, I always start with something very basic, just so I can see how the idea works. This sample features the Beautiful Gallery papers and was the first sample I made.
I kept it simple: I did the Double Vision technique on the background, then added some coordinating embellishments and a label to finish.
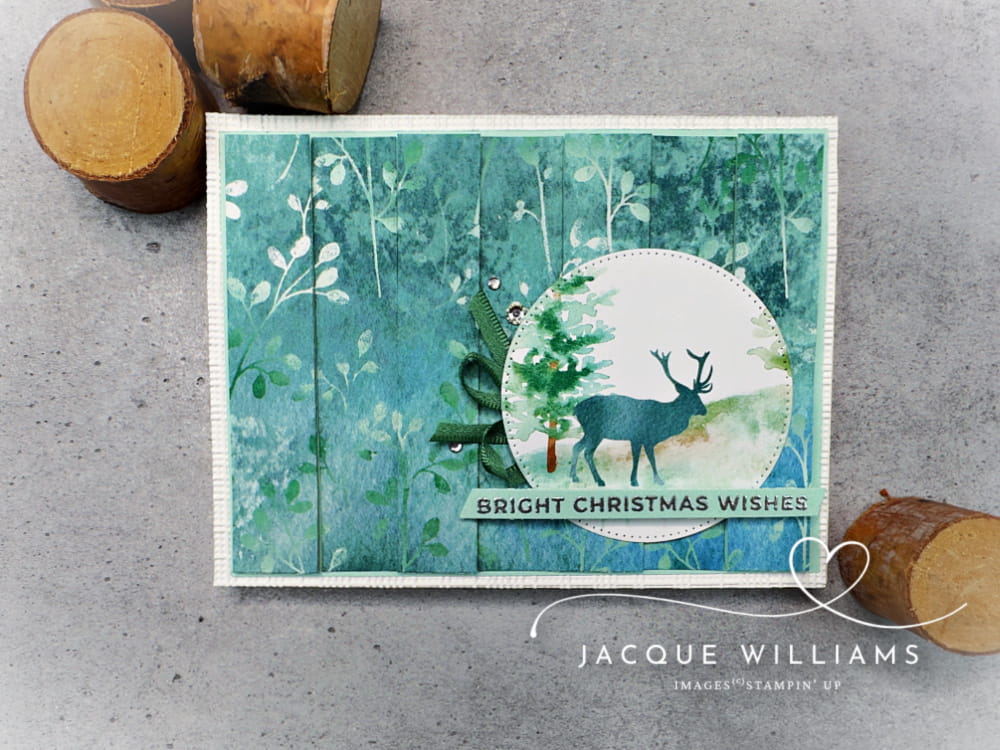
Next, I created the same double vision background style with the Whispering Woods paper pack. The main focal image was also cut right from the Whispering Woods papers, making this card very quick to make.
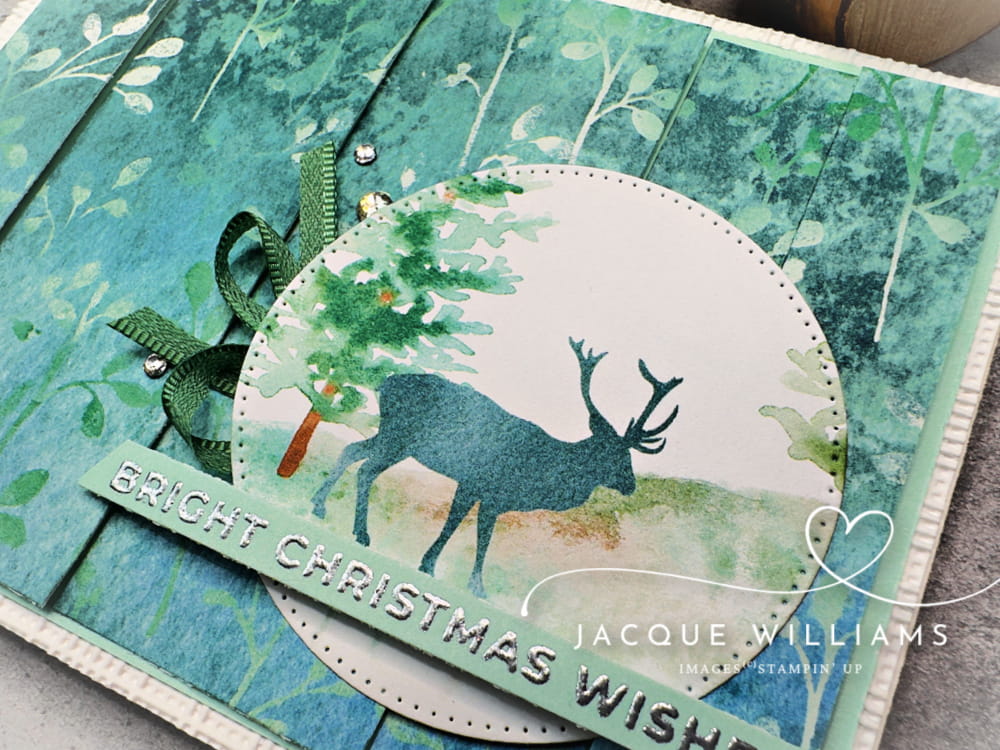
I also added just a bit of Peaceful Pine ribbon, Basic Rhinestones, and beautiful silver embossed words. I do love the hot foiling, but I also still love the dimensional effect of traditional heat embossing, too.
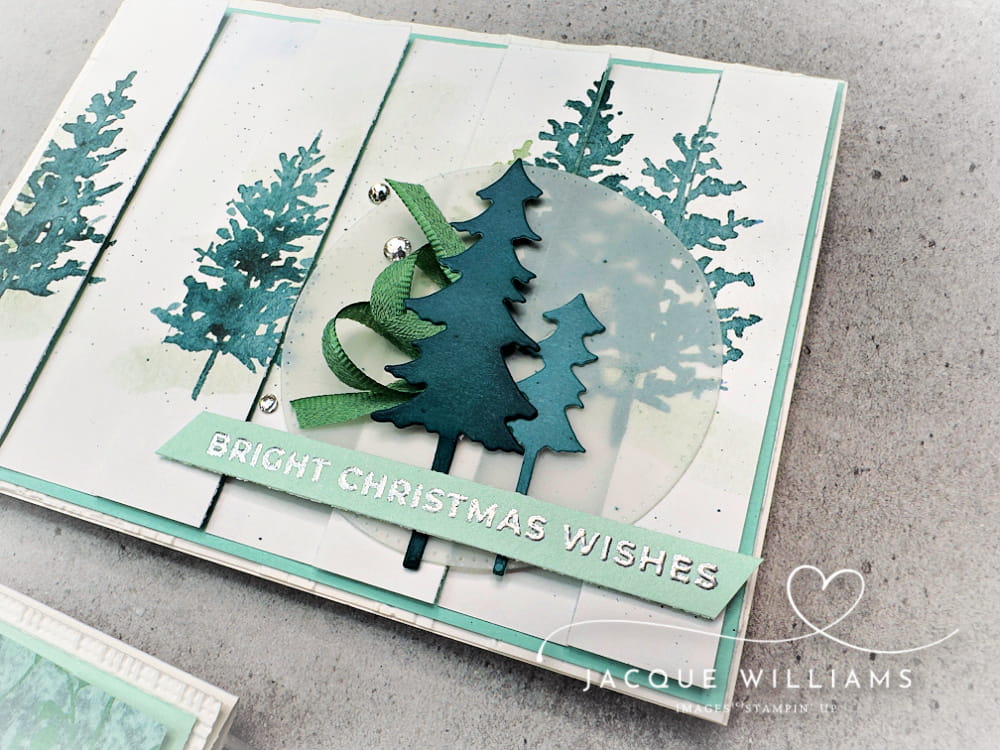
I made another version with a different print in the same Whispering Woods papers, but this time added those cute “popsicle trees” from the Holly Jolly Branches die set. (I just call them that).
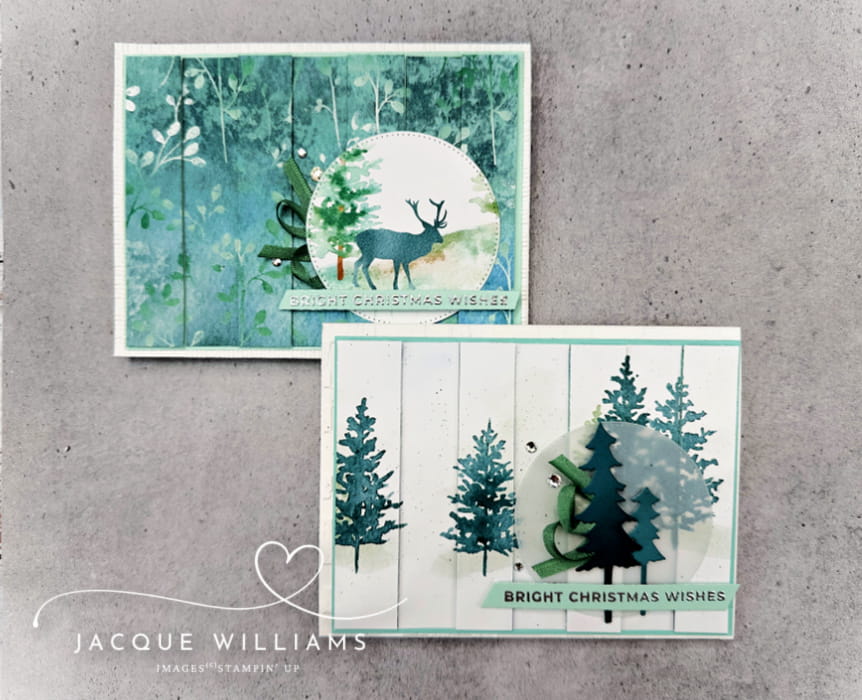
I’m really loving these papers for Christmas. And even better, the Whispering Woods paper pack is part of the Stampin’ Up! Give Back campaign this year. A portion of the proceeds from the sale of this paper goes towards organisations dedicated to empowering women.
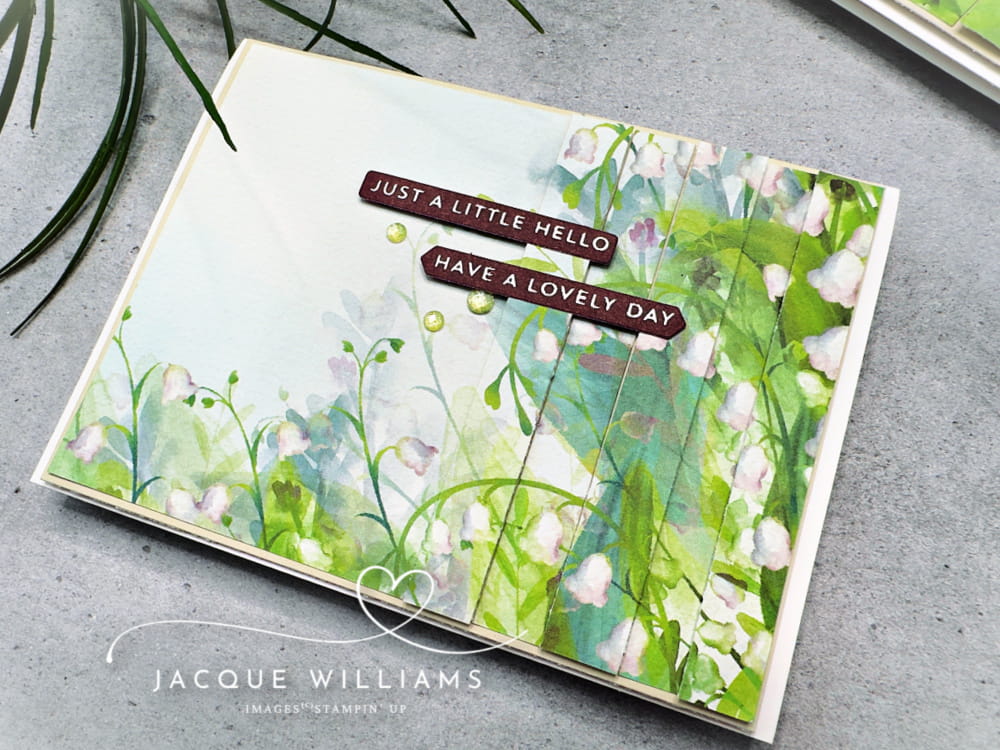
Next I made some versions with the Valley in Bloom papers, a gorgeous pack with these beautiful border prints. But this time I changed up the double vision technique a bit: I cut slices in only a portion of the paper, leaving half of the front flat.
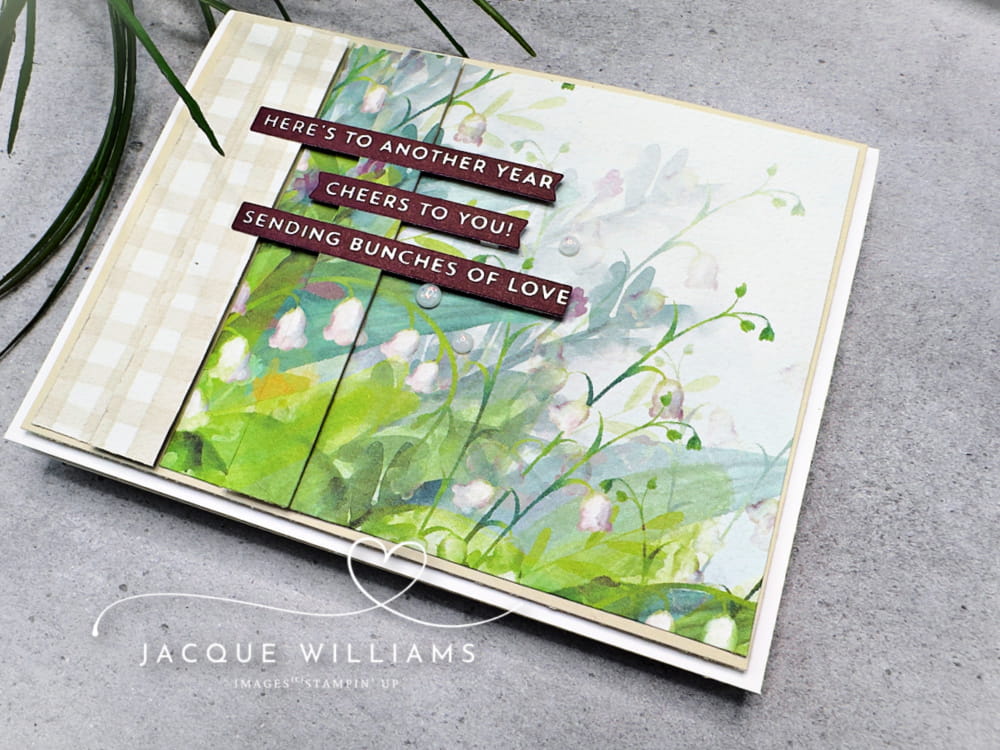
Then I did the same idea again, but this time switched to the left hand side, and I also flipped some of the strips over. So this one has print and height differences.
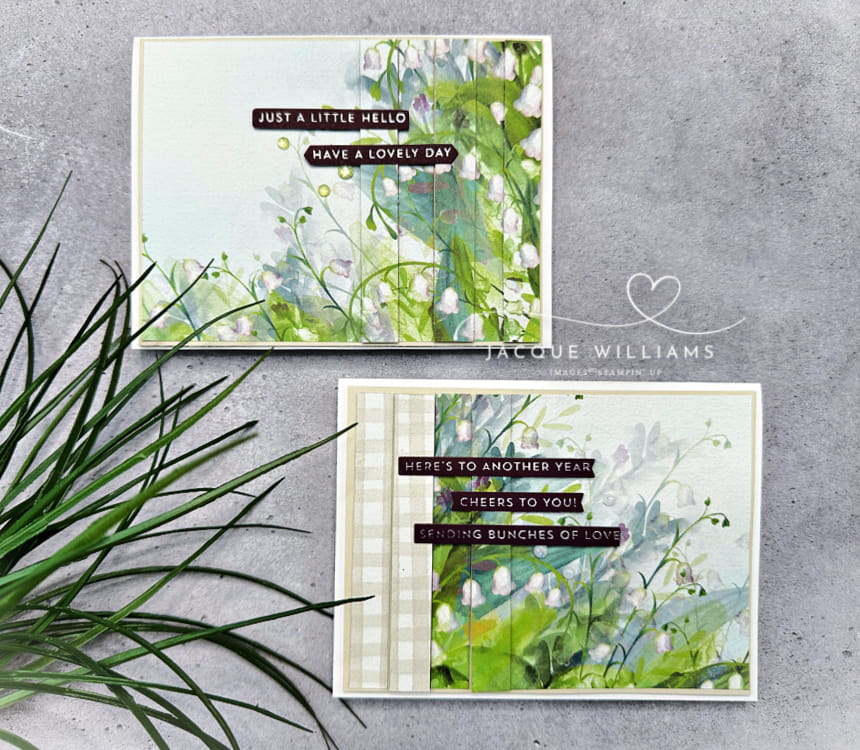
Both of these are from the same sheet of printed paper from the Valley in Bloom paper pack, but with just a few small variations, they can each look unique.
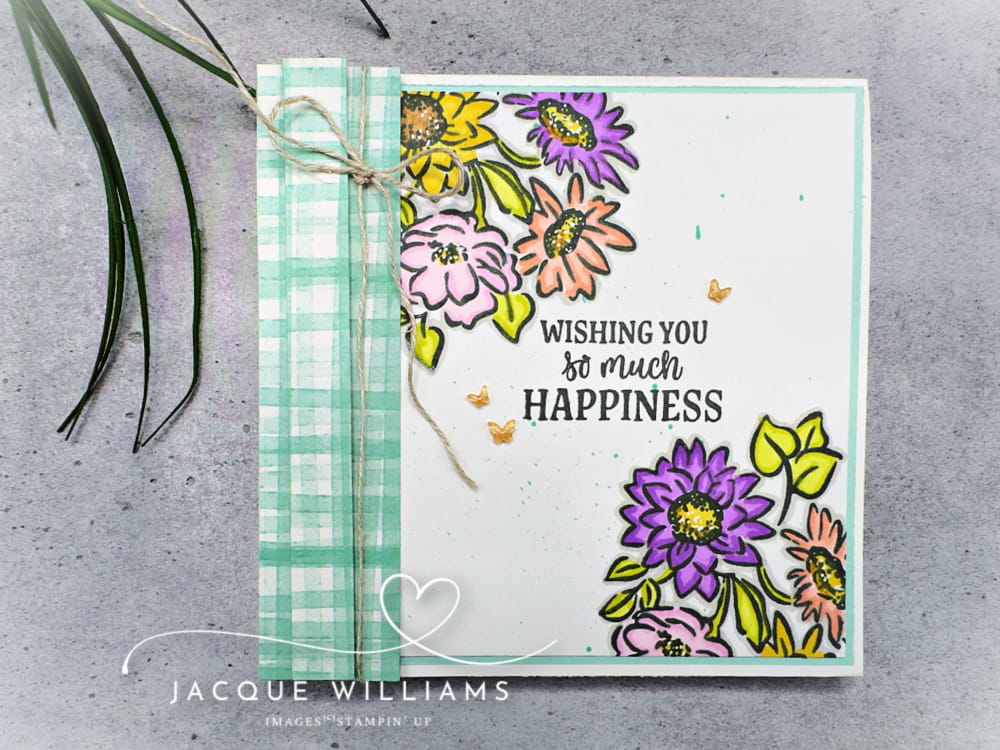
Then I moved on to using stamped images. This technique is not just for printed papers! For the flowers, I used the Radiant Sunflower stamp set, colored the blossoms in, and this time used the double vision technique on just a border.
I did use the Valley in Bloom papers again, just using Side B for a more neutral print.
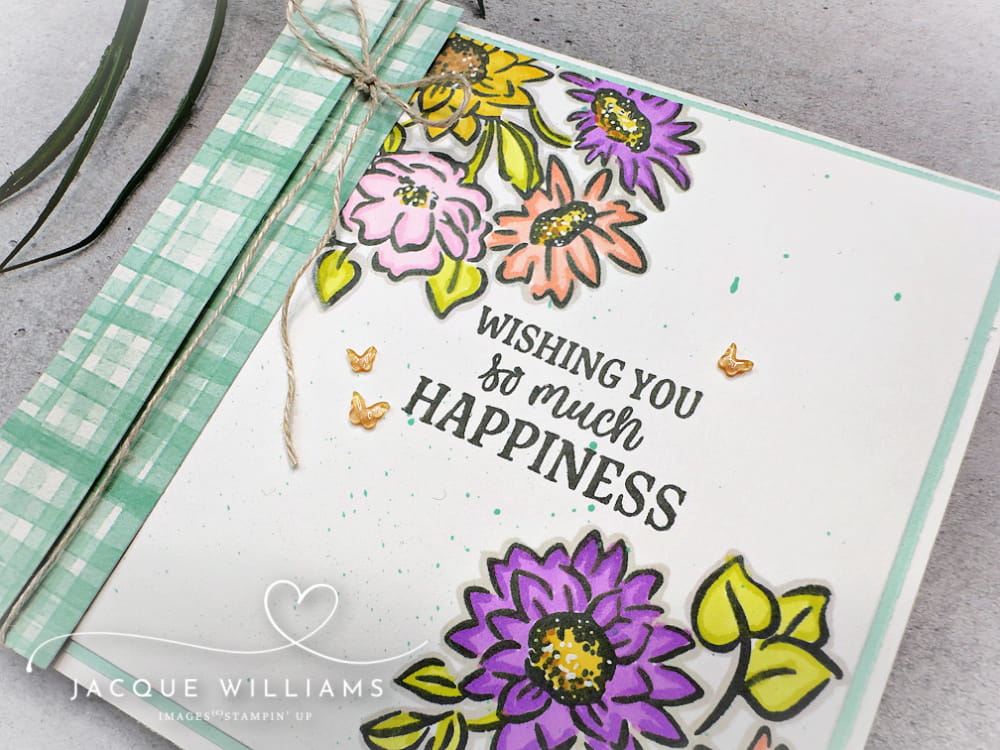
It’s also quite a nice idea to add some ribbon on Linen Thread in with the double vision panels, like I’ve done here. You could go quite bold or delicate with that detail.
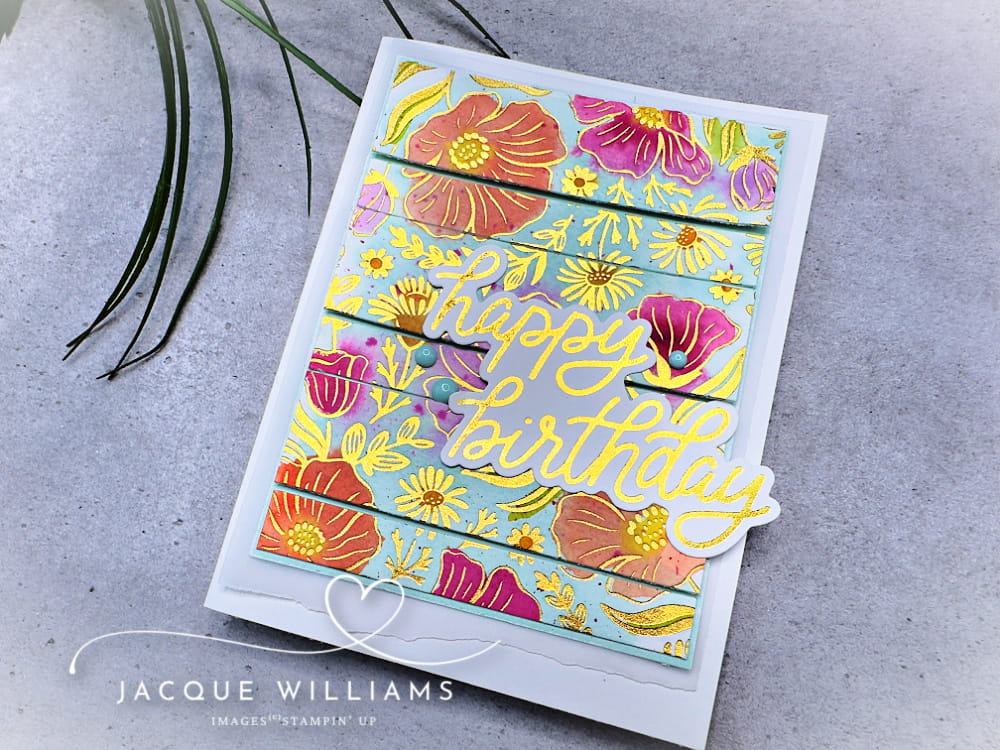
Then I wanted to try something I’d been thinking about for a while: hot foiling onto watercolor paper, and then watercoloring over top. And I’ll say: it works beautifully!
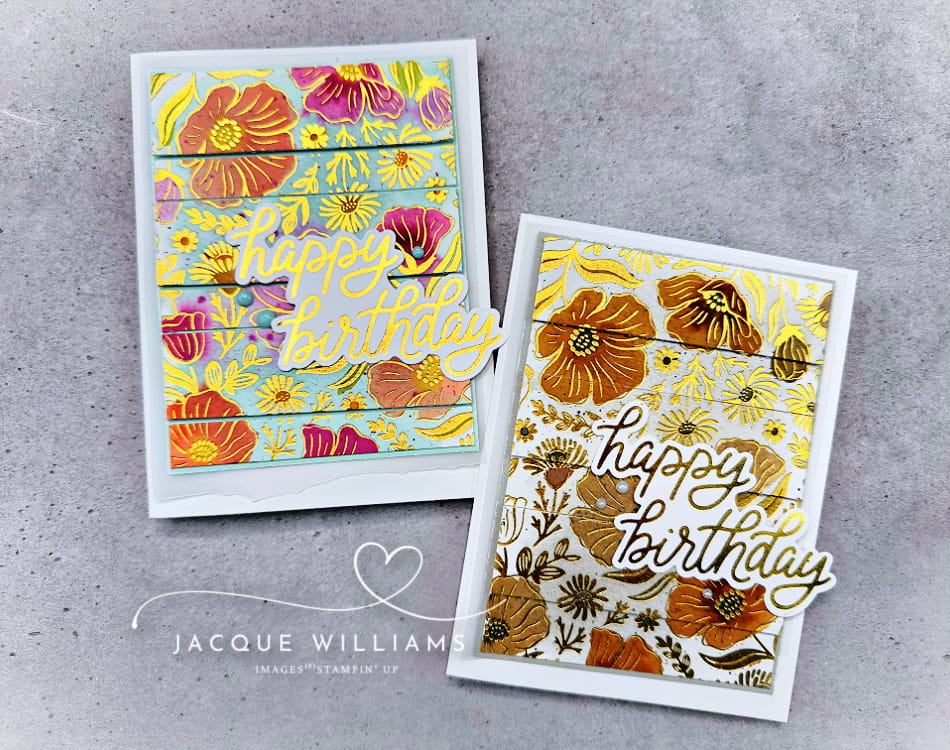
For this sample, I first hot foiled with the Garden Silhouette die, and then washed it all over with Pool Party, then painted in the flowers with Calypso Coral and Berry Burst.
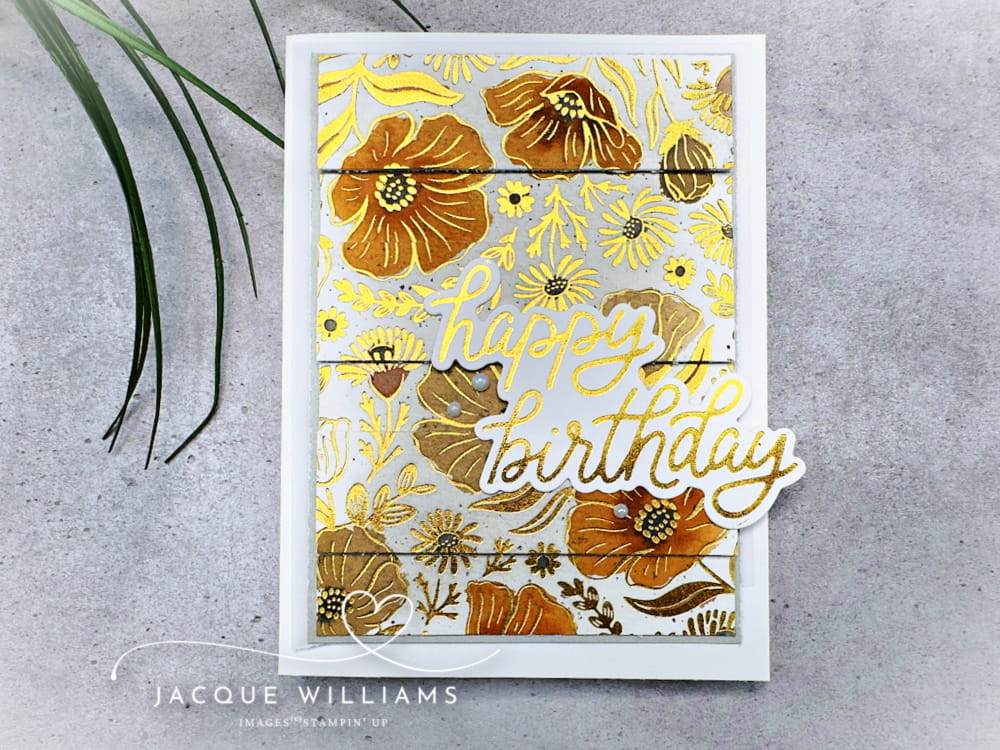
For the next version, I washed the background with Gray Granite, then painted in the flowers with Pecan Pie and Crumb Cake. I love how this turned out with the gold foil.
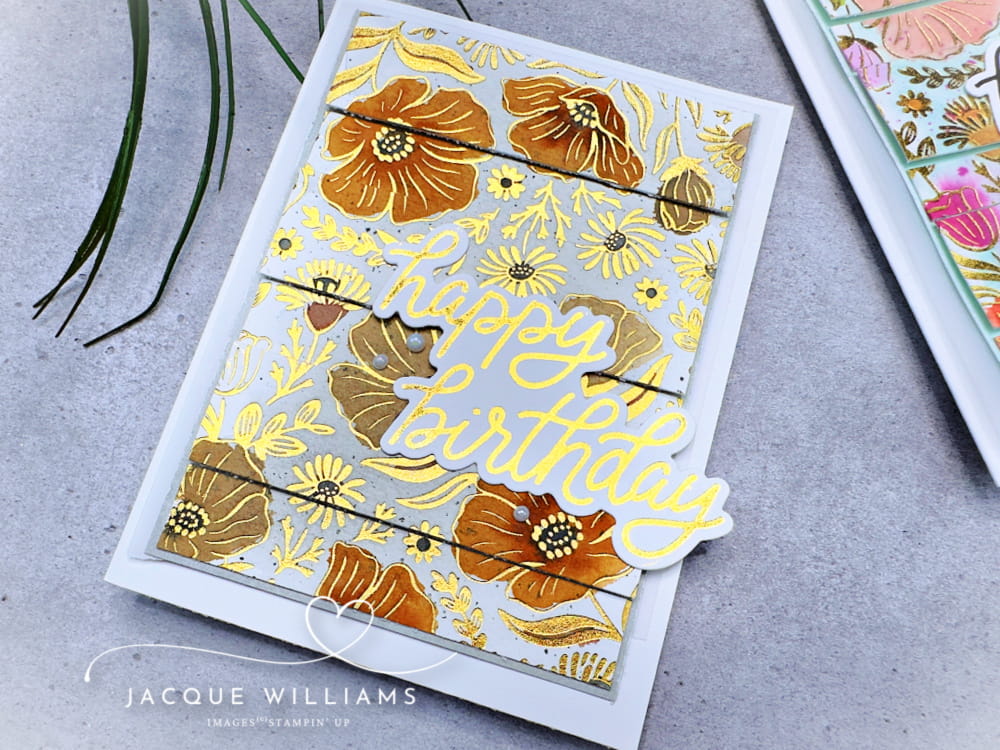
For the strips in the double vision technique for this sample, I cut them at 1 inch and 1/2 inch, alternating. There’s no rule that says the strips have to be the same size. I quite like the different sizes on this one.
If you’d like to see this technique in action, I’ve created a quick YouTube video showcasing this fun technique, and
Subscribe to my YouTube Channel for weekly tips and project ideas!
Stuck on what to make? Design Spark is your go-to digital sketchbook with 30 card sketches (with measurements!) —each in three variations—for 120 total designs to spark your creativity. Whether you love clean and simple or layered and detailed, you’ll find inspiration on every page.
Happy crafting! ~Jacque
