
Easy DIY Ornaments You Can Make with Scraps!
Today’s share is a DIY Christmas project – ornaments! As a bonus, these are so easy, they are perfect to make with children. Plus, the design is so simple and flexible, you can easily adjust the lengths and widths of the pieces to use scraps of pretty patterned papers you already have.

I have two designs to share. First is a simple round ornament using ten strips of equal length double sided papers:
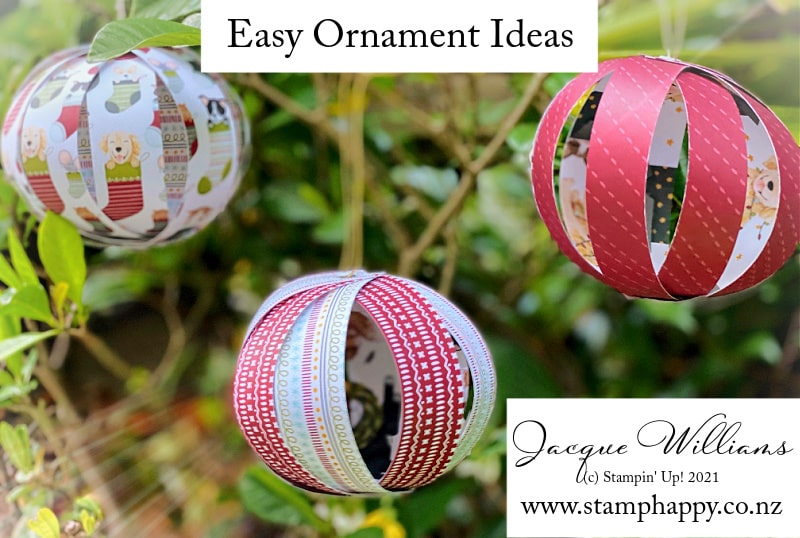
I opened it up just a little bit for the photo so you could see the fun print inside the ball. You can make the strips all the same or alternating, as above. All three of these use the Sweet Stockings paper, fun with the small print on one side and the holiday pets on the other side.

Or you can go more elegant with the Blackberry Beauty papers.
You can see how to make these in minutes in the video below.
It’s summer here in New Zealand, and we don’t have our tree up yet, so these display photos were taken outside on my gardenia bush.
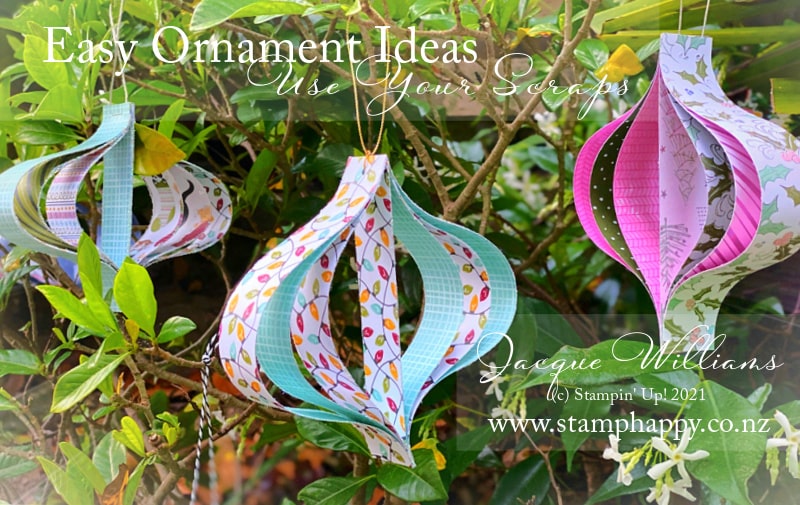
The next idea is just slightly more involved, but still incredibly easy. I did a little research and this shape is called “Lantern”, which makes sense.
All you need for this one is 7 strips of double sided printed papers in varying lengths, twine, and a stapler. I’ve added the Whimsy and Wonder papers to this display (the pink and green sample).
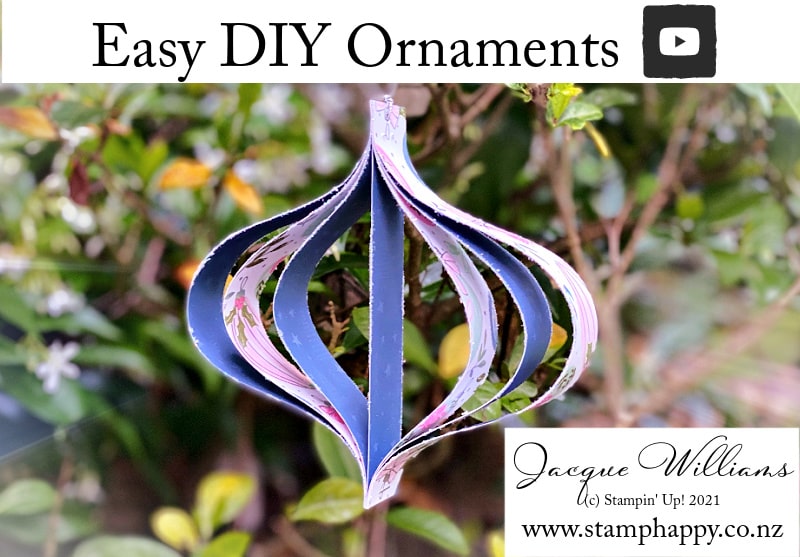
Of course you can add glitter, gems, more ribbon, and more layers to suit. And as you change the widths and lengths of the papers, the shape of the finished lantern changes as well.

Click here for a basic supply list, but of course, change it up to suit you.
And please enjoy this short video showing you how to make these fun ornaments while making the most of your leftover bits and pieces, too! Please subscribe to my channel while you’re there.
To view the next video on the DIY Christmas video hop, click here and then click on the next link in the video description.
Thanks so much for stopping by my stamping studio today! ~ Jacque Williams

