6 Creative Christmas Card Ideas with the Noel Greetings Paper Pumpkin Kit
Today’s share is a selection of alternative ideas I came up with when creating with the Noel Greetings Paper Pumpkin kit. This kit ties in beautifully with the Neutral Noel Suite; combine them for more possibilities or use one or the other to make your version of these festive ideas:
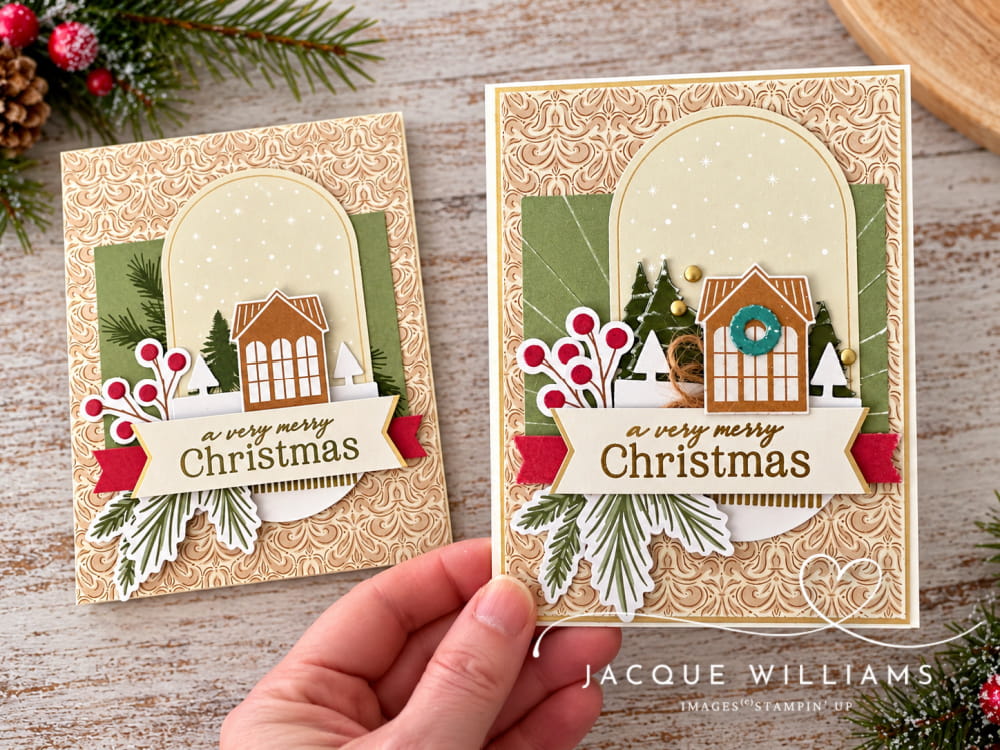
First, just to get the ideas going, I like to make one of the projects as instructed, and then make a variation of it.
These elegant card bases are printed front and back, so, for my version, I cut one in half to make them go further. I also gave that card front a small gold border for a bit more luxe. Next, I embossed (instead of stamped) the green background, used die cut trees instead of stamping (from the Layered Tags die set), added a wreath to the house, and gold embossed the words and little stripes.
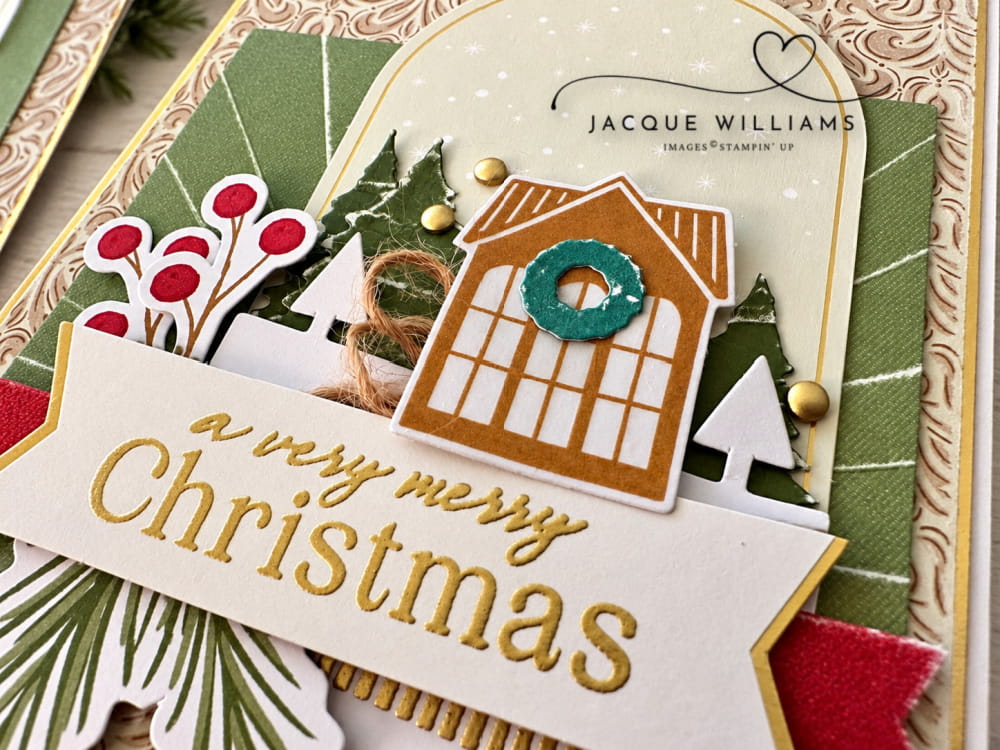
This one probably came out a little busier than I would normally make; there is quite a lot going on here. In hindsight, I’d probably leave the berries and pine sprays off completely.
That being said, it was still fun to step it up just a bit using basically the same materials.
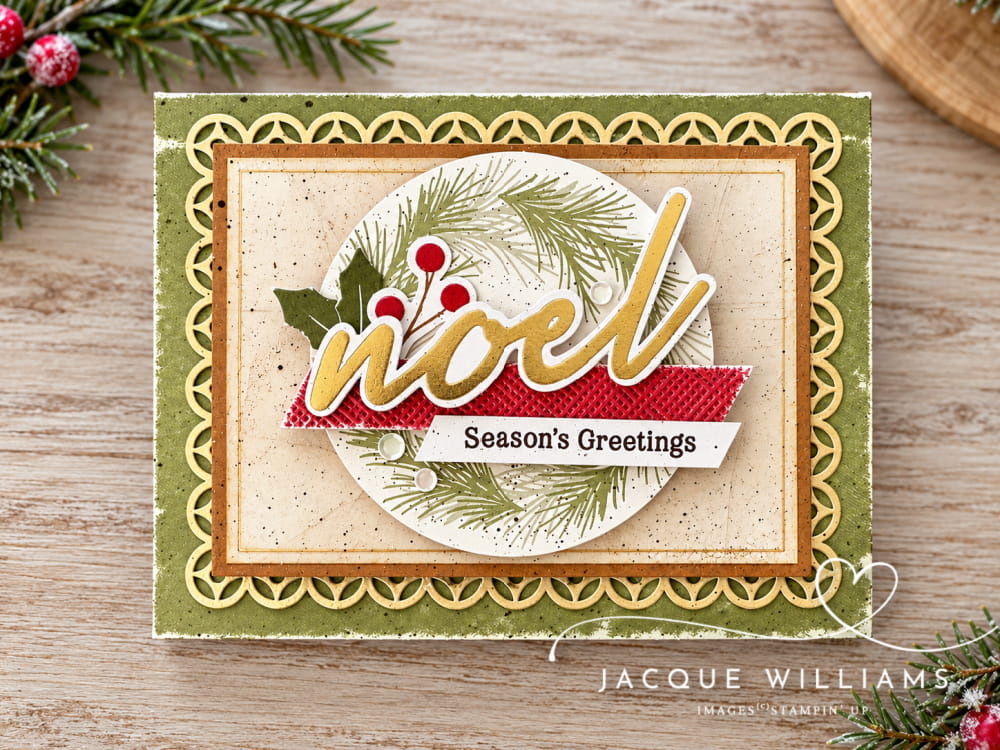
For the next project, I used the other suggested card design in the pack, rotated it 90 degrees, and recreated it in a horizontal style.
I didn’t change a ton on this one, but I did gold emboss that beautiful green laser cut frame, and it does look really good. I was also just playing around with the background and the old technique of “cracked glass”, and I gave it a go on the rectangle background. I think I’ll do a video about that one; it’s a goodie.
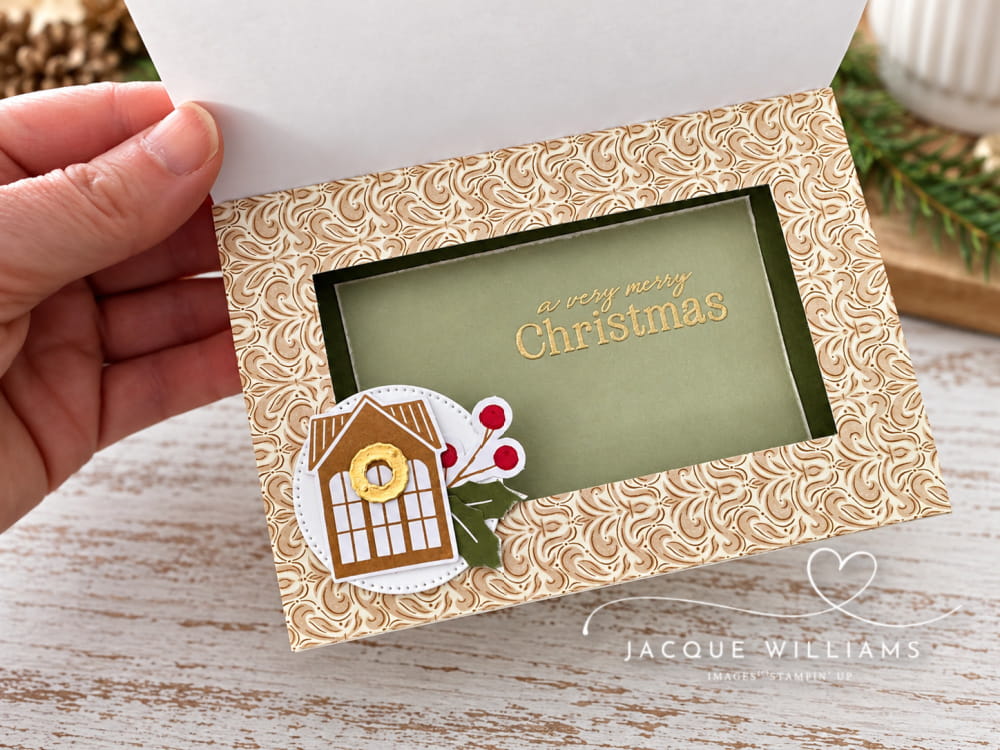
And then on the inside, I used a second card base to create a shadow box card, something I shared a few weeks back in a post here on the blog and on YouTube. You can download the free measurements for the basic size for the card base here:

Still sticking with this very traditional color scheme, I made up one of the Advent Calendar boxes and just used some of the bits in the Noel Greetings kit to embellish the front.
I did die cut a circle with the Stylish Shapes dies, and then stamped the pine boughs around it (stamps included in the kit).
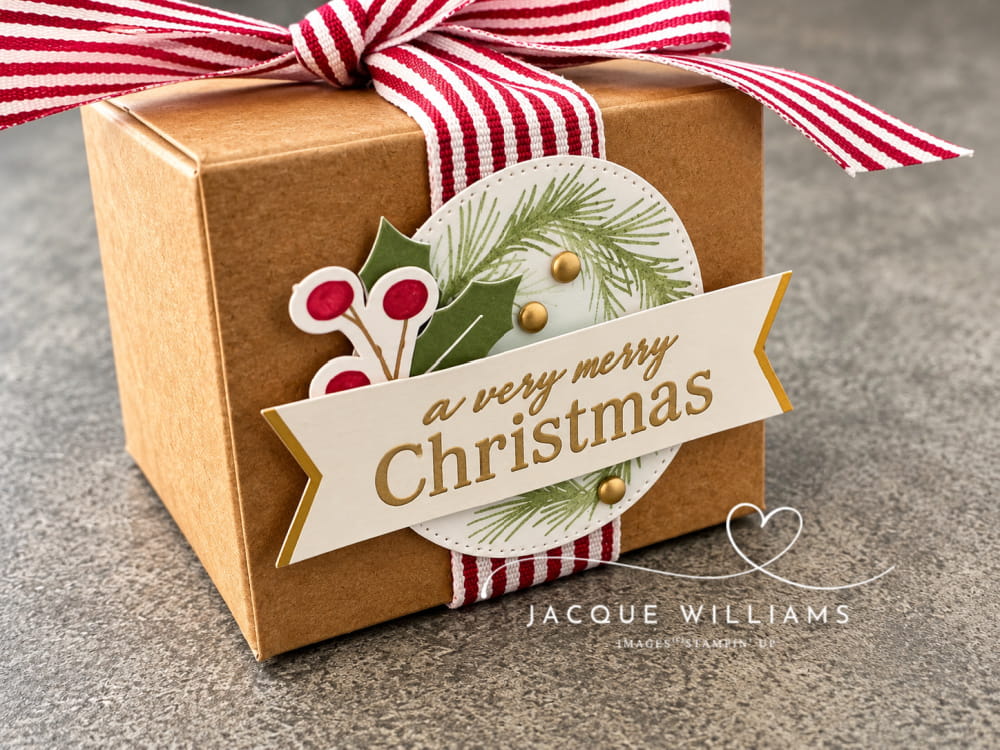
Not just for making a big advent project, these adorable little boxes are just the right size for a few pieces of fudge or a small gift.
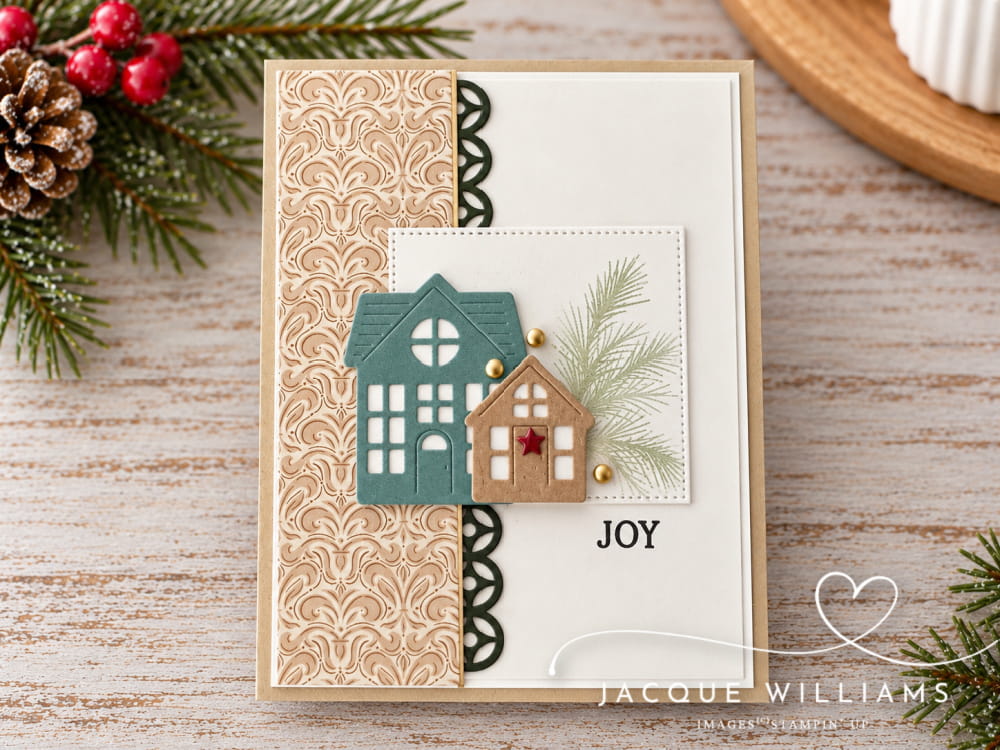
For this project, I pulled out my Design Spark Sketchbook and followed Sketch #13A. It was a great jumping off point to use that strip left over from the card base.

I also used that frame laser cut again, this time using just one edge of it and inking it with black ink for a more modern effect.
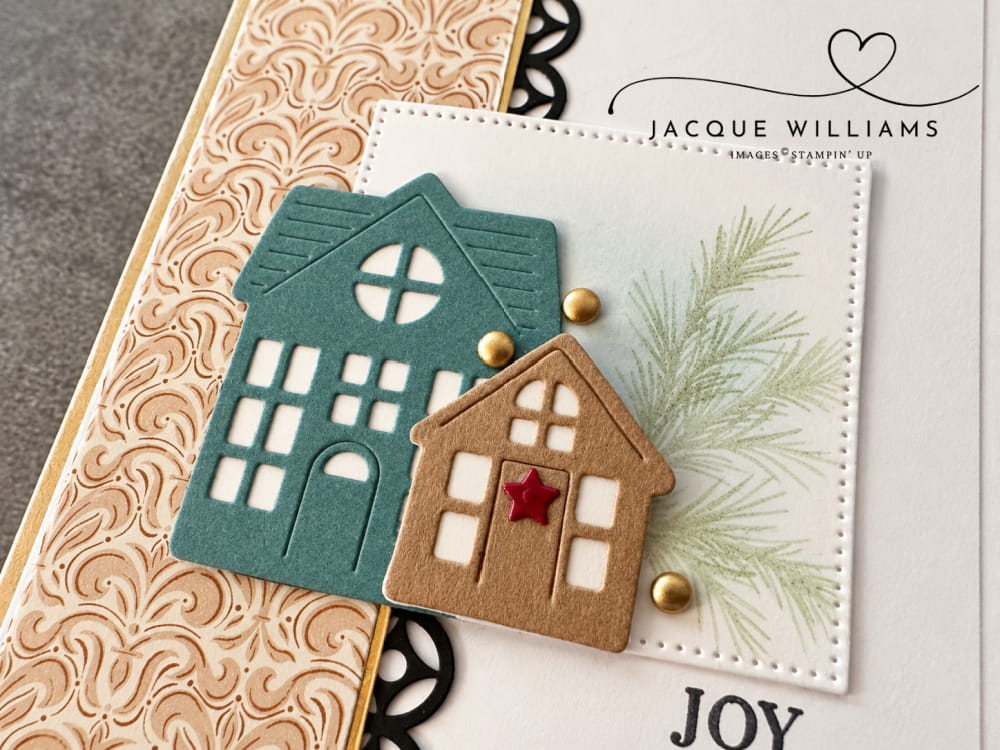
There is one little house in the Noel Greetings kit, but I wanted the larger one, too, and in a different color. This is where having the coordinating Welcome Noel die set was perfect!
I did use the pine sprig stamp from the Noel Greetings kit, along with the sweet little “joy” stamp, to finish it off.
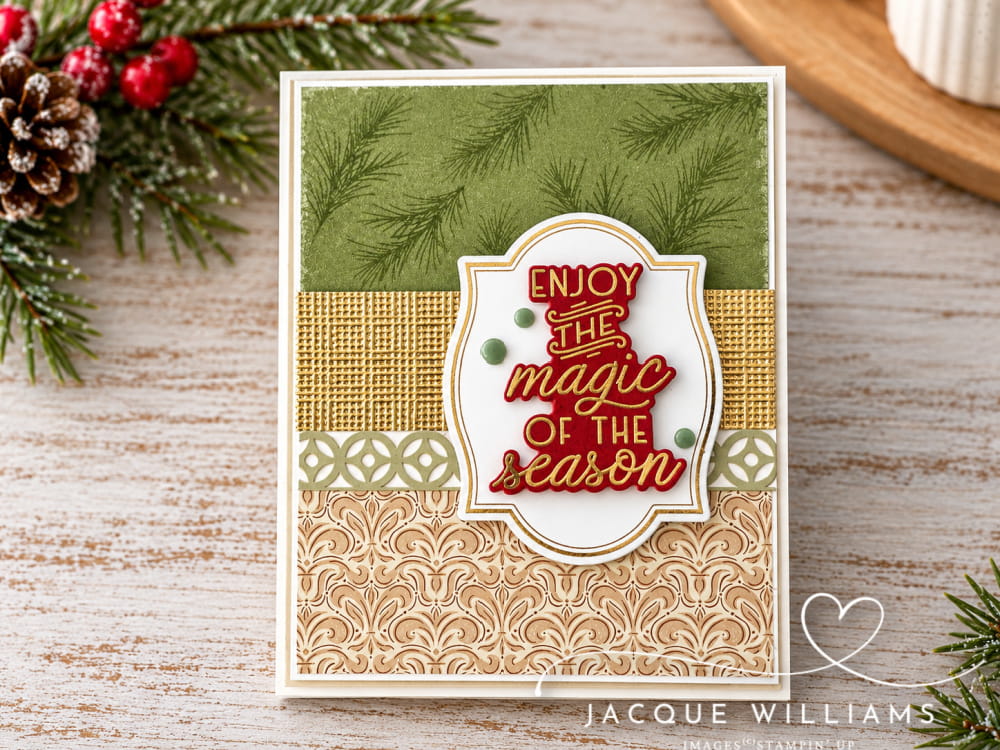
And this card was a great design to use up all those last few bits and pieces on the desk. I even used little bits of the laser cut frame in there! This is a fantastic layout to use up scraps; I’ll be making more of these.
I added in the Flourish & Frames and the Magical Christmas hot foil dies for a bit more gold foil shine.
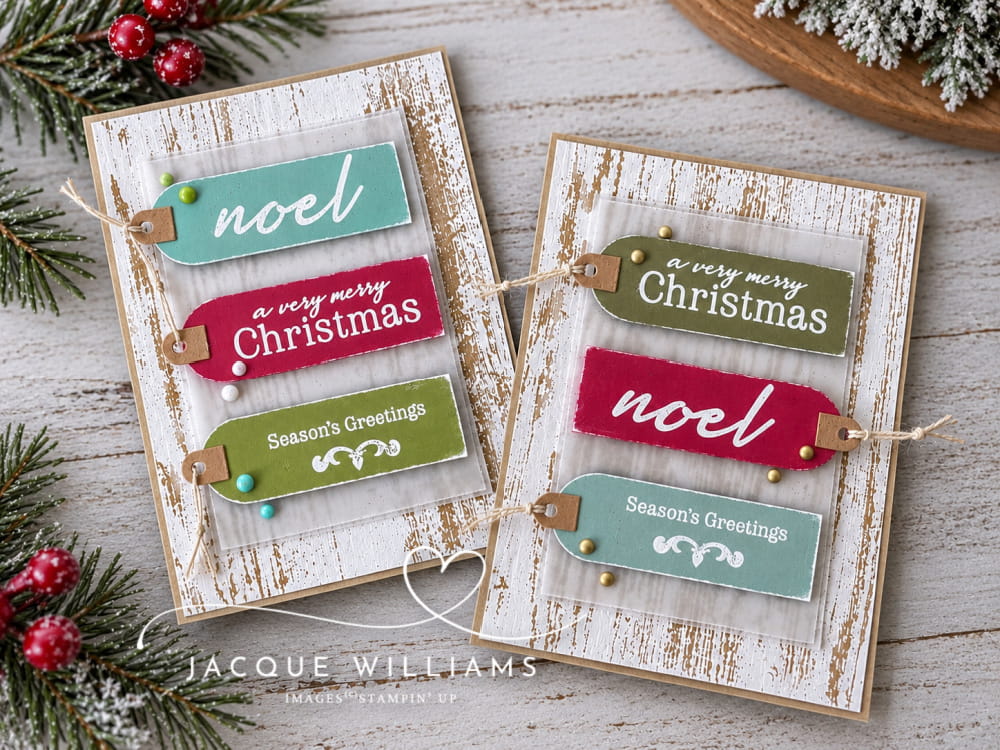
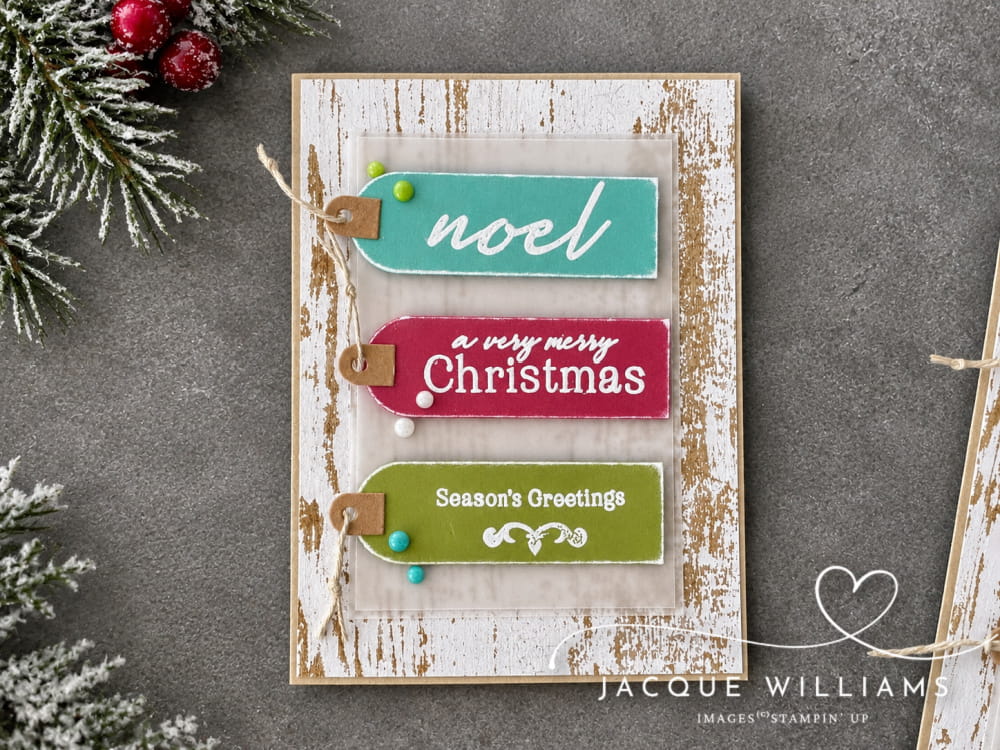
And then I do love to create a project that uses just the stamps from the kit because you’ll have those stamps long after the consumables are enjoyed. I paired these words (all from the Noel Greetings kit) with the Layered Tags dies and the Country Woods papers for this rustic Christmas card.
If you’d like to subscribe to Paper Pumpkin, I’ll gift you the supplemental PDF as a free bonus when you subscribe through me!
Please enjoy this edited YouTube video where I make project #2 with you, and
Subscribe to my YouTube Channel for weekly tips and project ideas!
Imagine opening a surprise box of crafting goodies every month!
Your Paper Pumpkin kit arrives right to your door, and as a special bonus, you’ll also receive exclusive alternative project tutorials so you can create even more with your kit. Every month is a new surprise and a fresh dose of creativity. Find out more here.


