Quick & Easy Background Masking Technique
Today’s share features a really great background idea that you can make with supplies you likely already have in your stash! I’m accenting this fun technique with the beautiful almond plant image from the Lovely & Sweet stamps and die set.
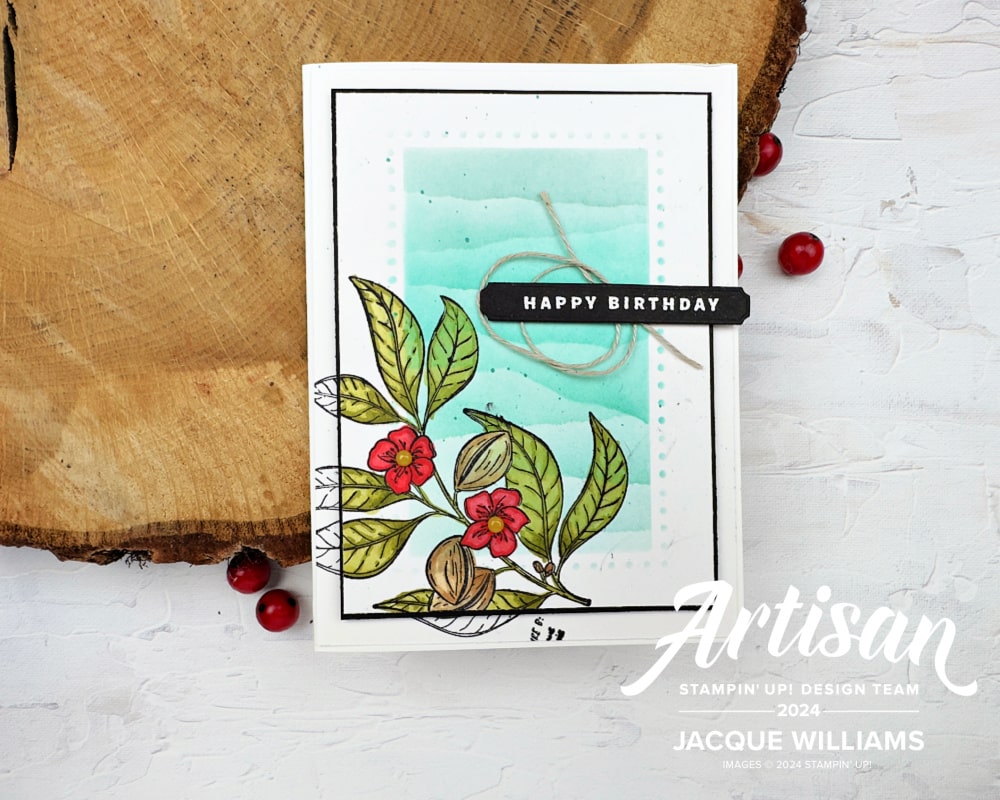
For the background, I created a simple mask with the Everyday Details Dies. I love how these dies have the dots, and this particular one has the dots on both the cut out image and also the negative space left behind.
I used the new Summer Splash ink for the background color. Using the negative space from the large rectangle Everyday Details die, ink through the mask.
To create the waves, texture, or visual layers shown, use a torn piece of copy paper or post it note to ink the background in sections. See the short video below for a demonstration.
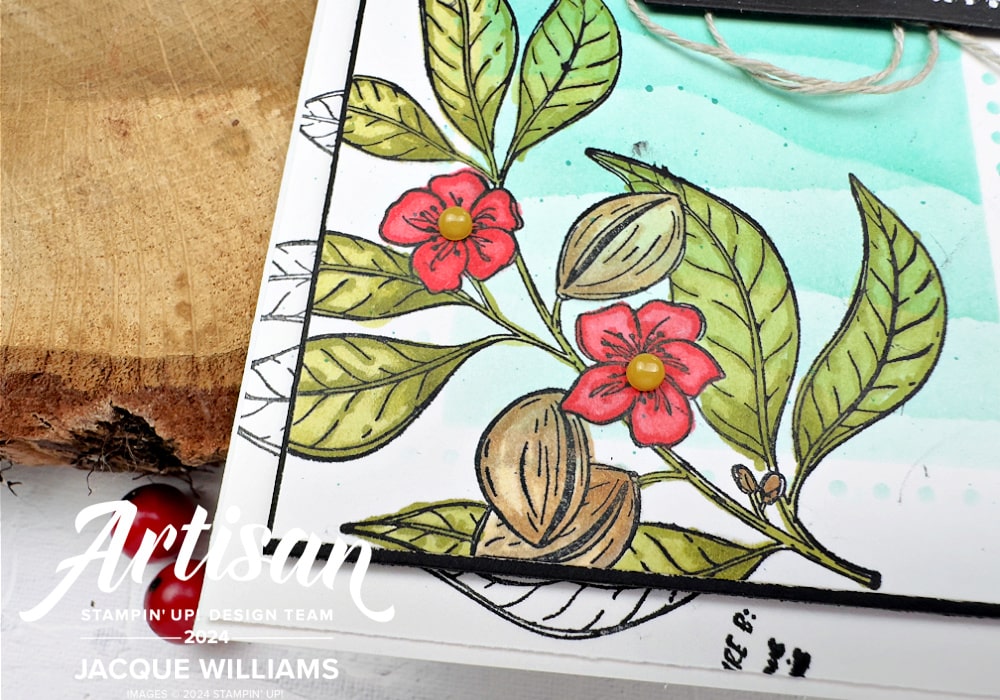
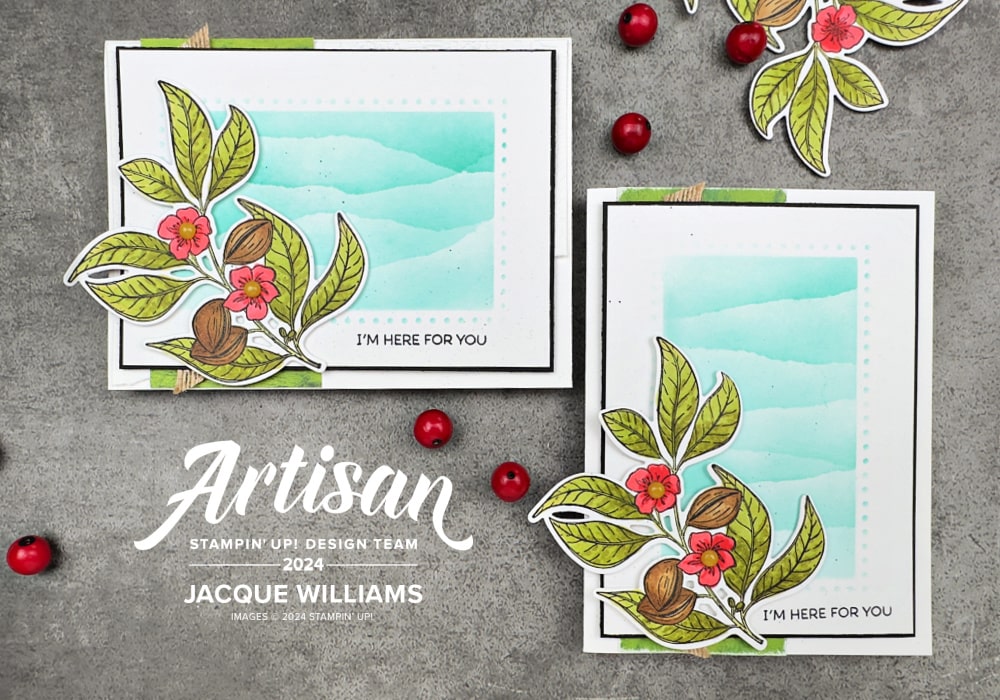
For this sample, I used just the stamped image from the Lovely & Sweet stamp set, stamping it twice, once on the background, and again on the top layer of Basic White. This is basically a variation of the spotlight technique.

For this version, I rotated the design 90 degrees as well as cut the image out with the Lovely & Sweet dies. This gives additional depth and allows the image to extend beyond the rectangle.

Click here for a complete supply list for shopping, saving, or printing.
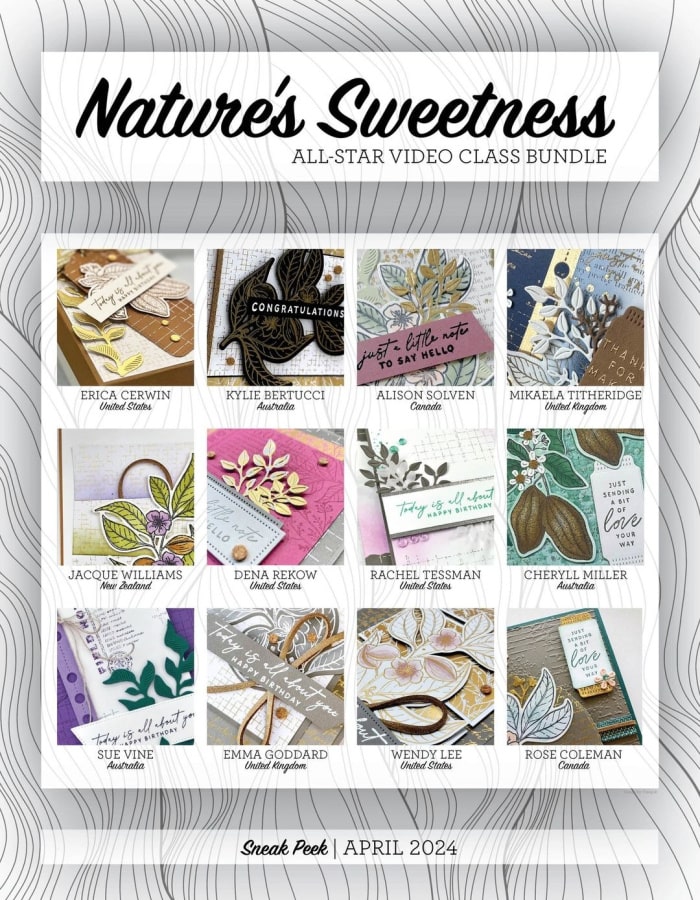
Would you like even more ideas with the Nature’s Sweetness suite? Ready for immediate download, the Nature’s Sweetness 12 Project video class contains 12 projects, complete with video, cutting measurements, supply lists, and photos!
Please also enjoy this short video showing this project, plus additional samples for your inspiration!
Subscribe to my YouTube Channel for weekly tips and project ideas!
Do you love Stampin’ Up! products and want more? And do you love sharing your crafting with friends? There are many benefits to joining my Stampin’ Up! team! Read more about it here! ~ Jacque Williams
