How to Make DIY Faux Washi Tape
Today’s share is a cute, quick project featuring a fun technique you can make using what you have; no special tools required: Faux Washi Tape!
When you make your own, you can make just a few pieces, rather than investing in a whole roll. Plus, you can customize to exactly what you need using your printed papers or stamps and inks.

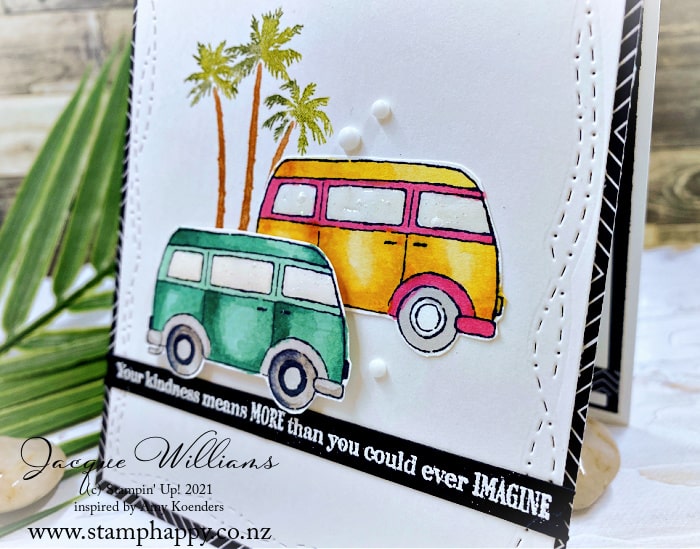
For this project, I didn’t have any black and white printed paper, so I made my own!
Some of the links below are affiliate links, which means I may earn a small commission at no extra cost to you. As an Amazon Associate I earn from qualifying purchases.
How to Make Your Own Washi Tape
- Stamp the image of your choice onto white cardstock with Jet Black Staz-On ink
- Cover with Scotch Magic Tape. Tear the ends.
- Soak for 3-4 minutes in water.
- Gently remove most of the layers of cardstock from the tape. Gently rolling with your fingers works best. Let dry.

The effect will be different, depending on how many layers of the cardstock are removed.
I’ve embellished here with the cute daisy dies from the Sweet Bugs die set, as well as those adorable ladybug embellishments. Words are from the Made with Sweetness stamp set.

Click here for a complete supply list for printing, saving, or shopping.
Please also enjoy this edited Youtube video for a brief demonstration, and
Subscribe to my YouTube Channel for weekly tips and project ideas!
Stuck on what to make? Design Spark is your go-to digital sketchbook with 30 card sketches (with measurements!) —each in three variations—for 120 total designs to spark your creativity. Whether you love clean and simple or layered and detailed, you’ll find inspiration on every page.
Happy crafting! ~Jacque