
Easy Baby Wipe Technique with Painted Lavender
I’ve been having great fun playing with the new Painted Lavender stamp and dies, which is part of the Perennial Lavender Suite collection. For last week’s Facebook Live, I shared this card showcasing the Painted Lavender and the Perennial Postage stamp and die bundles featuring the baby wipe technique:

This card is inspired by a catalog sample, but I changed it up quite a bit so I could showcase the Perennial Lavender Papers and the baby wipe technique. I love that the flowers are two step, meaning they are two stamps layered on top of one another. It really adds a lot of interest and dimension, and it’s as easy as inking and stamping!
The Perennial Postage dies are a great companion to the Painted Lavender images, but certainly use them to pair with other images you have! They are fantastic.
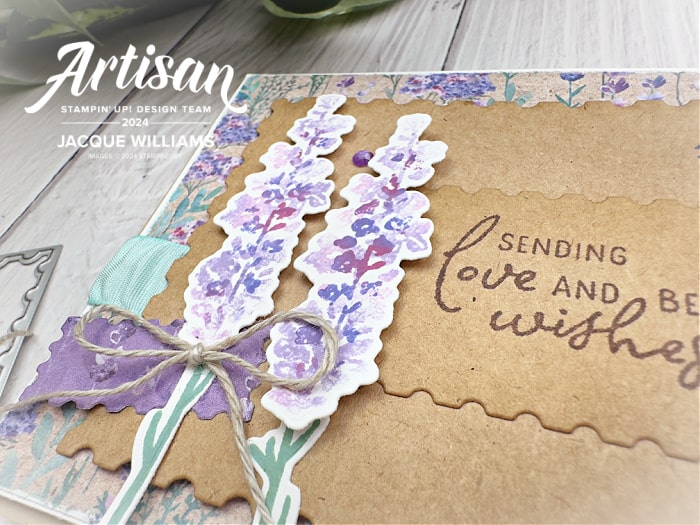
I show you exactly how to do the baby wipe technique in the short video below. Basically, it’s creating your own temporary ink pad with a wet wipe and drops of ink refill. Every time you ink and stamp, the image comes out a little differently. I love it!
The baby wipe technique is a great way to create an interesting bouquet, even with just one or two images.

Click here for a complete supply list for shopping, printing, or saving.
Please enjoy this edited video showcasing how to make this Painted Lavender project and the baby wipe technique:
Subscribe to my YouTube Channel for weekly tips and project ideas!
Thanks so much for stopping by my stamping and scrapbooking studio today! Join me for a class online or in person! ~ Jacque Williams

