Easy Colored Heat Embossing Tip – Any Color You Want!
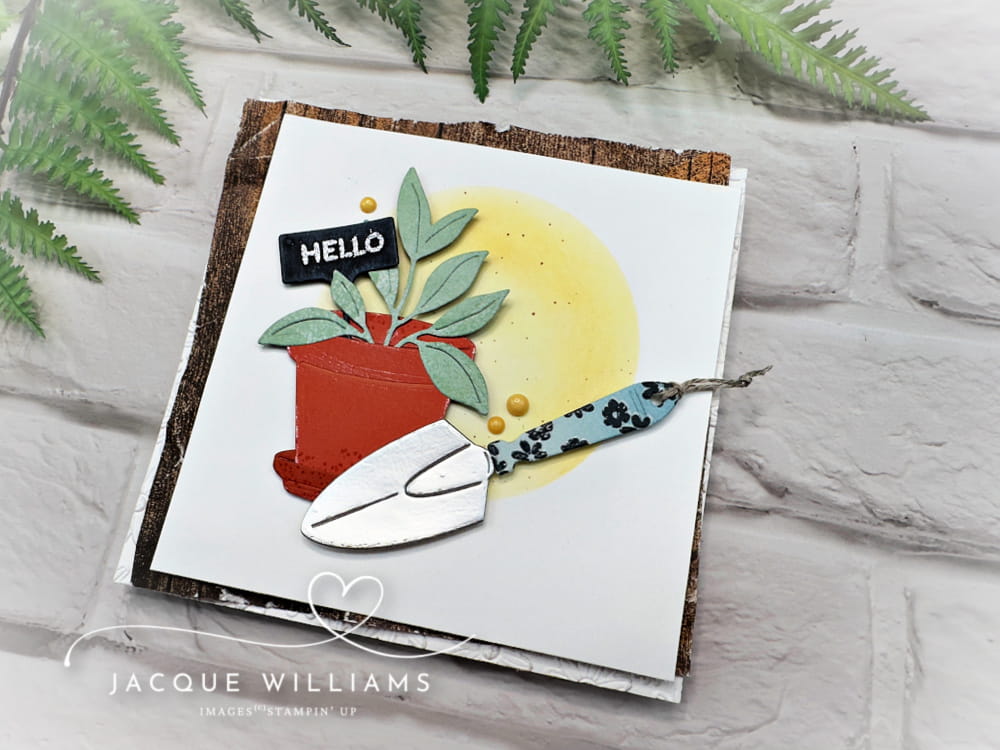
Today’s share is a cute card I made with the Help Me Grow bundle by Stampin’ Up! This is a cute set of gardening tools – fun for anyone who loves a bit of gardening.
I’ve also been getting familiar with the new Stamp Positioner tool, and one feature is the ability to create a dimensional, heat embossed image in any color!
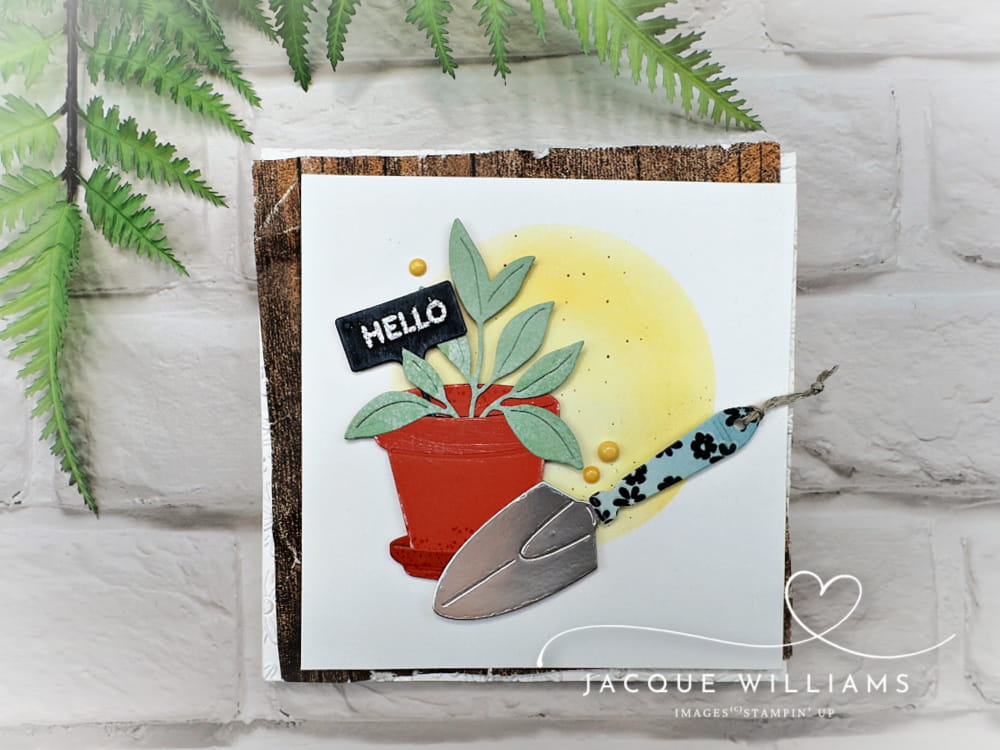
But first, let’s talk about the background. I die cut a circle out of a scrap paper and used it as a mask to blend through Darling Duckling ink. Not only does this anchor the die cut images, but it gives off some “sun vibes” to go with the gardening theme.
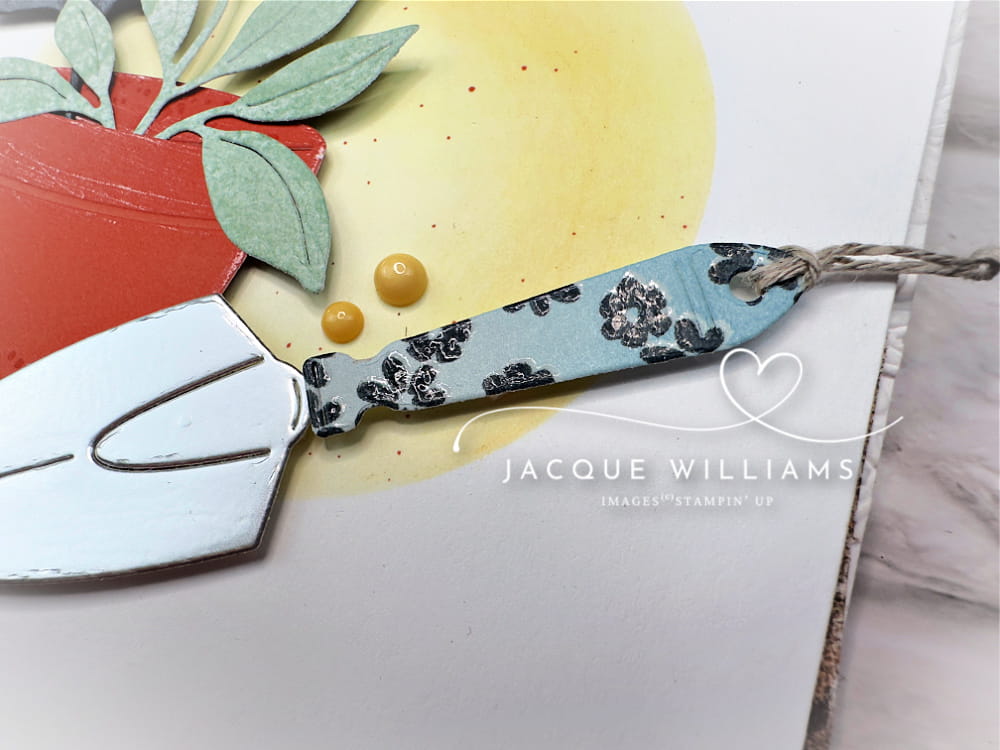
Can you see the colored heat embossing on the handle here? I love this effect for a rich, textured look.
Here’s how you do it:
- Stamp the flowers from the Help me Grow stamp set in Secret Sea onto Cloud Cover cardstock.
- Clean off the stamp well.
- Stamp the same image exactly over the top of the first one, but this time with Versamark.
- Cover in clear embossing powder. Shake off the excess. Heat to until melted and shiny.
- Tip: It’s best to use a stamp positioner for exact placement, but you can eyeball it and stamp the traditional way, too.
Please also enjoy this short YouTube video for a quick demonstration of the technique, and
Subscribe to my YouTube Channel for weekly tips and project ideas!
Do you love Stampin’ Up! products and want more? And do you love sharing your crafting with friends? There are many benefits to joining my Stampin’ Up! team! Read more about it here! ~ Jacque Williams